
Here at The Art of South Brunswick High School, NC, we incorporate the Teaching for Artistic Behavior or TAB philosophy in our classroom. TAB states that the student is the artist and the art room is their studio. We believe students should be involved in the entire artistic process including designing, creating, and reflecting on their work. It is our job as teachers to present ideas and concepts, demonstrate techniques and materials, and encourage and support our students to create and produce works of art at the highest level.
|

|

I've been a fan of the term Student-Directed for a while now and for several reasons. For one, because it sums up, to some degree, the classroom expectation. Ultimately at South B, we want the student to be in charge of their art education. We want them making decisions about the subject they will explore and the media they will select. But the truth is, Student-Directed, as great as it sounds, isn't really what we do. What we really do is Teacher Guided/Student Decided.
|

When working in a student-directed art program, there are many different projects happening at any one time. With all these different projects, How do we know they are meeting the standards? The answer to this question can be found in preselecting a Learning Target.
|
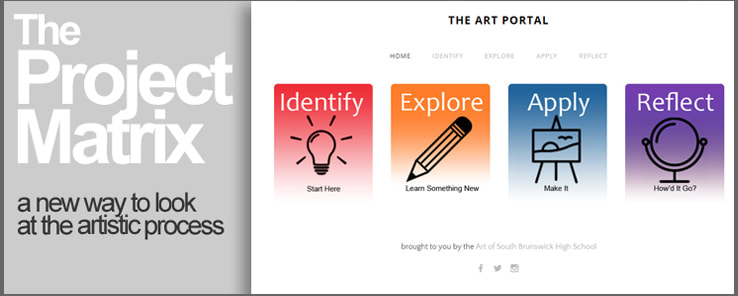
The artistic process has evolved from several earlier processes that were originally designed and implemented as a means of structuring the development of something. Though the phases of walk the student through the art making process, is does not specifically address the reason or purpose for making the art. In fact, the reason or purpose for making the art may come much later in the process, or not at all. To address this issue, the Project Matrix was developed.
|
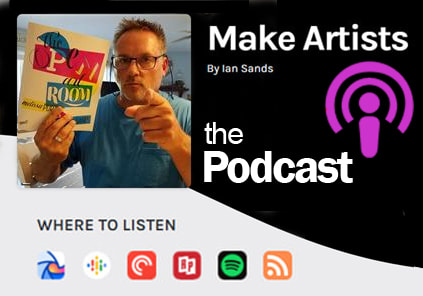
The Make Artists Podcast with your host Ian Sands the choice-based, student-directed, Teaching for Artistic Behavior high school art teacher and stuff and things... but mostly stuff. Listen Now.
|
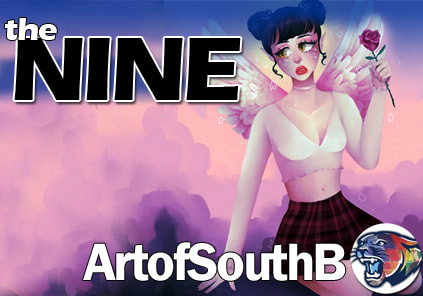
Even though there are endless themes an artist might explore, there is a finite amount of subjects the artist can select from in which to interpret these themes. In fact, the subjects that an artist can choose from can be broken down to nine basic subjects. We call these subjects The Nine.
|
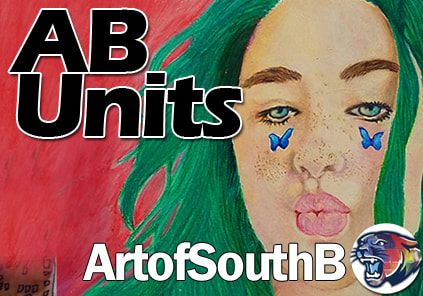
First introduced in The Open Art Room, Artistic Behavior Units are a method of presenting modified-choice that is founded on the ways in which artists think and work. These units often encapsulate media, skills and techniques, and artists, into a series of lessons that are all based on teaching a concept. Learn More...
|
One of the more common practices utilized in subject-based teaching is presenting a Theme. Themes are basically subjects that allow for a range of interpretation. Some themes provide for a wide range of interpretation while others, a less narrow spectrum of choices. View Themes...
|
AP Studio Art allows students to take college level course work, and earn college credit, while still in high school. At the Art of South B, we offer two AP classes; AP 2-D Art and Design, AP 3-D Art and Design. Lean more about our AP Art program…
|
Our YouTube channel contains all the videos created for the Art of South B. This includes lesson videos such as the Nine and Artistic Behavior Units, AP Studio Art videos, as well as Artist of the Week and Art History videos. Visit our YouTube Channel…
|
The Portal was designed to assist the art student as they walk through the artistic process. This includes finding inspiration, designing the project, creating the design and reflecting on the finished work. The Portal provides inspiration videos, tutorials, advice and much more. Visit the Portal…
|
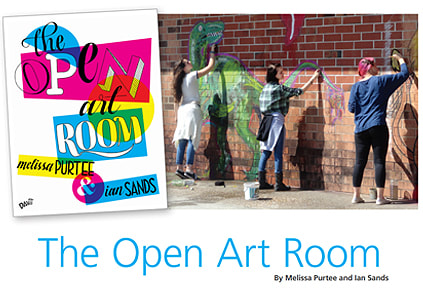
Taking inspiration from a variety of contemporary approaches, this book presents a framework for Choice-Based instruction for Secondary Level (grades 6–12) Art Education. The Open Art Room provides a student-centered approach to art instruction that is inspirational, practical, and classroom-tested.
|
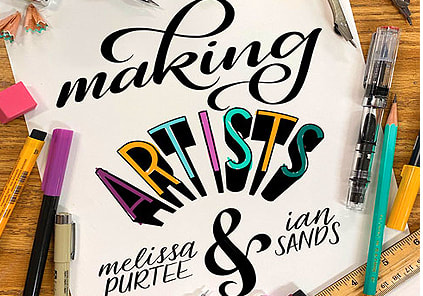
A comprehensive look at how and why a student-directed classroom is essential for the development of the student artist in the 21st century. Making Artists picks up where The Open Art Room left off, covering issues and situations choice teachers encounter as they design their program.
|
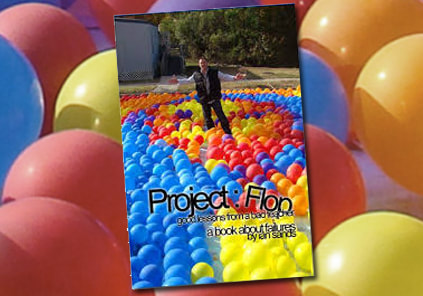
Project Flop: The only class I ever failed in college was Intro to Art Education. If you put this book down and stop reading right now I will totally understand. If you keep reading, you will learn that over the years, I’ve frequently clashed and often collided and have had plenty of failures in the world of art education.
|
