|
I've been a fan of the term Student-Directed for a while now and for two reasons. First, because it sums up, to some degree, the classroom expectation. Ultimately at South B, we want the student to be in charge of their art education. We want them making decisions about the subject they will explore and the media they will select. The other reason is because admins like it. If someone says Student-Directed to an admin, they are hooked ;) But the truth is, Student-Directed, as great as it sounds, isn't really what we do. What we really do is Teacher Guided/Student Decided. So what really is Teacher Guided/Student Decided? It's actually three different methods of teaching depending on the needs of the student. 1. Student Decided. 2. Teacher Guided/Student Decided. 3. Teacher Provided. Let's take a closer look at all three.  Student DecidedStudent Decided: The student comes to class with an idea. The teacher facilitates by providing material, guidance/suggestions to help bring the students vision to fruition. The teacher says, You have an idea? Great! How can we help you bring your idea to life? So How does this work? For these students, the teacher is really a facilitator. What materials do they need that we can provide? What techniques might the student need to know? What suggestions about composition, media, or other can we recommend.  Teacher Guided/Student DecidedTeacher Guided - Student Decided: the student comes to class looking for ideas and inspiration. The teacher provides ideas, inspiration, material choices, suggests possible projects. Monday units, Wednesday artists, Thursday techniques The teacher says, Not sure what you want to create? No problem! We have some great Monday Units guaranteed to inspire ideas. So How does this work? In a Teacher Guided - Student Decided situation, the teacher provides information and inspiration. For example, each Monday, the teachers at South B present a new unit that demonstrates how artists think and work. We call these units Artistic Behavior Units. Artists Steal, Artists Solve Problems and Artists Collect & Synthesize are just a few of the many units we present. These units provide students, not only information about how artists think and work but can also be used as inspiration for the development of their own projects. In other words, the teacher guides the topic but the student decides what they will create. Other examples of teacher guidance includes Artist Wednesdays and Technique Thursdays. The Artist Wednesday provides the students a look into how contemporary working artists incorporate artistic behaviors in their art. Technique Thursdays offer students hands on opportunities to add more traditional art techniques to their artistic toolbox.  Teacher ProvidedTeacher Provided: the student comes to class without an idea and looks to the teacher to provide one. The teacher offers project idea suggestions that include material recommendations. Monday units, Tuesday tables. The teacher says, You have no idea what to make? The Tuesday Table will set you up with a project idea and introduce you to new project materials. So How does this work? There are times when a student doesn't have an idea and the unit doesn't inspire them. These students are looking for a project idea. Even in a TAB setting, the teacher needs to be prepared for this situation. Students respond to choice in different ways. Some jump at the chance to make all the decisions, while others are more reluctant. For these students, offering a project may be just what they are looking for. At South B, we offer the Tuesday Table. Each week, we present a different hands on project that for those students looking for an idea. We have both 2D Table Projects and 3D Table projects. 2D table projects include Marbling, Stencils and Cray Pens. 3D Table projects include Ugly Dolls, Piñatas, and Candle Making to name a few. Note: Any student can be one or switch back and forth between all three of these. It’s not a judgment, but rather a students mindset for that week.
2 Comments
Teaching for Artistic Behavior (TAB) is often viewed by those unfamiliar with the philosophy, as a method of providing student choice. While allowing students to make choices regarding the subject and materials is a component of TAB, it is an end more than a means. As TAB teachers, we believe the student is the artist and the art room is their studio. We strive to teach students how to think and work as artists. Student choice is a result of TAB, but not TAB, at least not a definition. What makes TAB TAB, is the teacher’s ability to provide opportunity for students to think and work as artists. There are many ways to create this environment but most all rely on a particular method, whether intentional or not. The method I’m referring to is following an artistic process. The artistic process has evolved from several earlier processes that were originally designed and implemented as a means of structuring the development of something. One of the more common predecessors is Design Thinking Process. At its core, Design Thinking works through five phases, starting with understanding a problem exists and ending with developing and testing a solution. Another process is one I borrowed and implemented with my students earlier in my TAB teaching career. The Project Management Process is very similar to Design Thinking, using five phases to define and build a solution to a problem. These processes are used to design and create everything from websites to apps, to bridges and airplanes. You can click here to read how I adopted this process into the art room on the Art of Education website. The Artistic ProcessMore recently, the Artistic Process has become an integral part of the TAB classroom. To adapt the process into the classroom, the phases have been modified from the lengthier Design Thinking and Project Management processes. Most artistic processes now represent an artist friendly version, four phase process. Though the phases may have slightly different titles, the overall phases remain the same. The first is an inspiration phase. This phase is where the student finds their idea. The second phase is the design or development phase. In this phase, the student plans for their creation. The third phase is the creation phase. This is where the student makes the artwork. The final phase is a reflection phase where the student reflects on their accomplishment. These four phases accomplish the task. They provide a structured environment to assist the student in thinking and working as artists. However, there is a challenge. Though the phases in this version walks the student through the art making process, it does not specifically address the reason or purpose for making the art. Instead, the inspiration phase assumes there is a direction simply because it provides a starting point. The reason for making the art is not defined. It’s an instinct, a like, a flavor. In fact, the reason or purpose for making the art may come much later in the process, or not at all. Revisiting the ProcessTo address this issue, the Project Matrix was developed. The Project Matrix is an updated version of the artistic process that begins with a target. This target, selected by the student, provides a reason and purpose for making the art. Instead of simply providing inspiration, the target provides a road map, guiding the rest of the process. Let’s look at the new phases. Similar to the artistic process, the Project Matrix consists of four phases. These phases include Identify, Explore, Apply and Reflect. 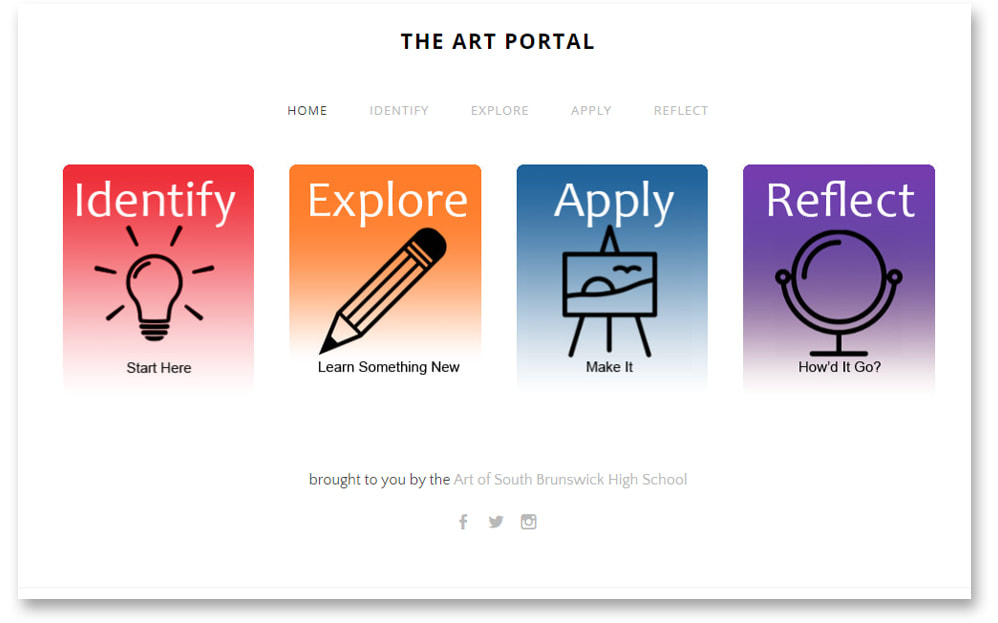 Click here to visit the Art Portal The Project Matrix PhasesIdentify: In this first phase, the student will select and write an Individualized Learning Target (iLT). The iLT will guide the student through the art making process. It explains what the project's objective is. In other words, it’s the artwork's guiding principle. The students are provided a list of learning targets based on the standards. After selecting a learning target, the student individualized it to meet their needs. Here is an example. Let's say the student want to create a painting of their house in the style of the famous work of art, Starry Night by Van Gogh. They look at the Learning Targets and selects, “I Am Inspire: I will consider how artists, artwork or art concept inspire me”. Next, they individualize the Learning Target so it becomes theirs. “I will consider how the artist Van Gogh painted the Starry Night.” For a complete list of learning targets click here Explore: Once the student has selected and individualized a Learning Target (iLT), there next step is to explore materials and/or techniques that they can later use in the creation of a final artwork. This exploration can take may forms. Some students might want to explore a material on their own, experimenting and playing as a means of learning. Other students might want to see how other artists have used materials or techniques in their artwork . Still others might want to watch a tutorial to gain knowledge. We encourage all these methods and to assist we’ve provided a list of videos including artists, materials and techniques to increase the student’s skills. Visit our Explore page for more Apply: In our previous version of the artistic process this phase was labeled Create. It was the phase were students created a final work of art. However, now we have renamed this phase Apply. It is still the phase where the student makes the art only now we expect more. We want to see the student Apply what they learned in the Explore phase. This is how they will demonstrate how they are meeting their iLT. For more information on our expectation, visit the Apply page Reflect: The purpose of the Reflect phase hasn’t changed much from the original artistic process. The one big difference is that we expect our students to complete the Project Matrix document. This document is actallu assigned during the Identify phase. It’s a place where the student can document their iLT, the ways the explored including tracking specific videos, and explain how the work they created met their goal. You can download a copy of this document on the Reflect page
 Meeting the Standards with Learning Targets When working in a student-directed art program, there are many different projects happening at any one time. One student may be painting a landscape, while another is drawing a cartoon, and still another is learning how to animate. With all these different projects, some might conclude that it is difficult for the teacher to track what the students are learning. How do we know they are meeting the standards? The answer to this question can be found in the student-directed process of preselecting a Learning Target. What are Learning Targets? Learning Targets communicate what the students are attempting to accomplish. There are three key components to Learning Targets. First, Learning Targets are usually written statements that are derived from the Standards. Second, Learning Targets are a means of diving in deeper into the objectives. Third, students identify and elect to achieve specific Learning Targets as they move through the art making process. Implementing Learning Targets To best understand how to implement Learning Targets, let’s first review the artistic process. The artistic process is compiled of four phases an artist, or in this case an art student, works through when creating art. The artistic process includes the following phases: Inspiration: The student seeks ideas. Development: The student designs the idea. Creation: The student builds the idea. Reflection: The student critiques the outcome of their idea. Inspiration: During the Inspiration phase, the student is presented with a concept by the teacher. This may be in the form of a unit, a theme, a challenge, or other method. In this phase the student is gathering information. Development: During the Development phase, the student considers the material gathered during the Inspirational phase and begins formulating a plan for a project. It is at this point in the artistic process that the student should determine the Learning Target for their project. This Learning Target adds another layer to the objective of the project. It goes beyond simply identifying what the student wishes to accomplish, and describes how the student will meet the goals set by the Standards. For example, a student may select to create a landscape painting using watercolors. A Learning Target should be selected that addresses how the student will meet the Standards by accomplishing this project. In this example, if the student has never worked with watercolor before, then an accompanying Learning Target might be ‘I will work with unfamiliar materials.’ However, if the student is familiar with watercolors, then an accompanying Learning Target might be ‘I will improve my knowledge of a familiar material’. Creation: During the Creation phase, the student will check back to see if they are meeting their Learning Target. Sometimes the student may need to readjust what they are doing to make sure they are aligning with their Learning Target. Other times they may need to change their Learning Target to align with a new direction they have decided to move towards. Learning Targets should be flexible. Reflection: During the Reflection phase, the student should have completed their project and should begin the review process. At this point they may reflect on their accomplishments and assess how successful they were at achieving their Learning Target. Learning Targets Aligned with the National Visual Arts Standards
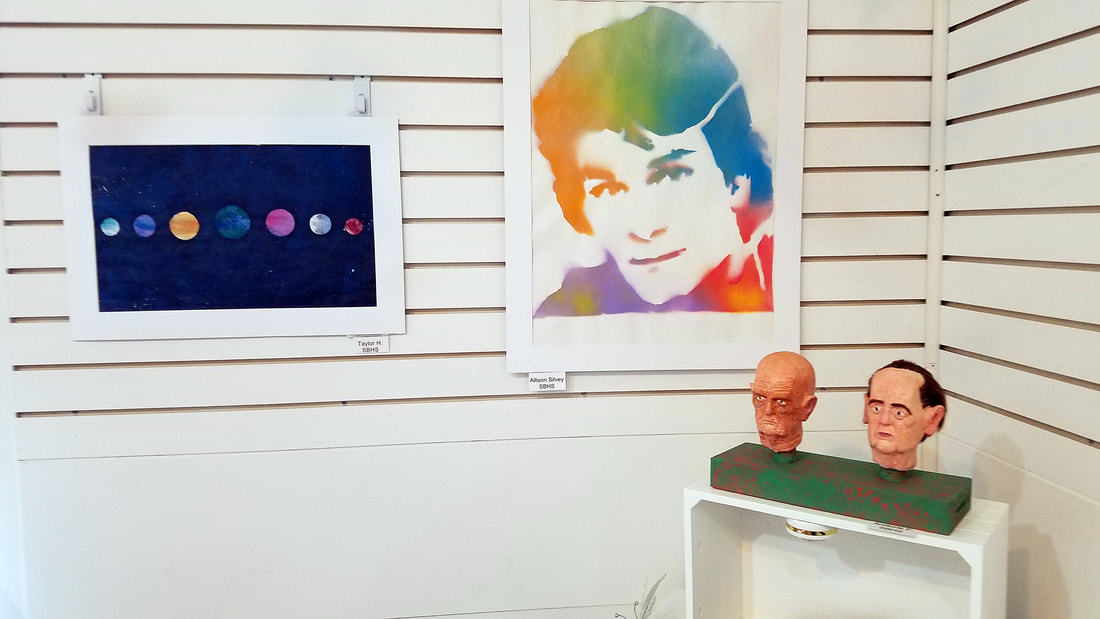
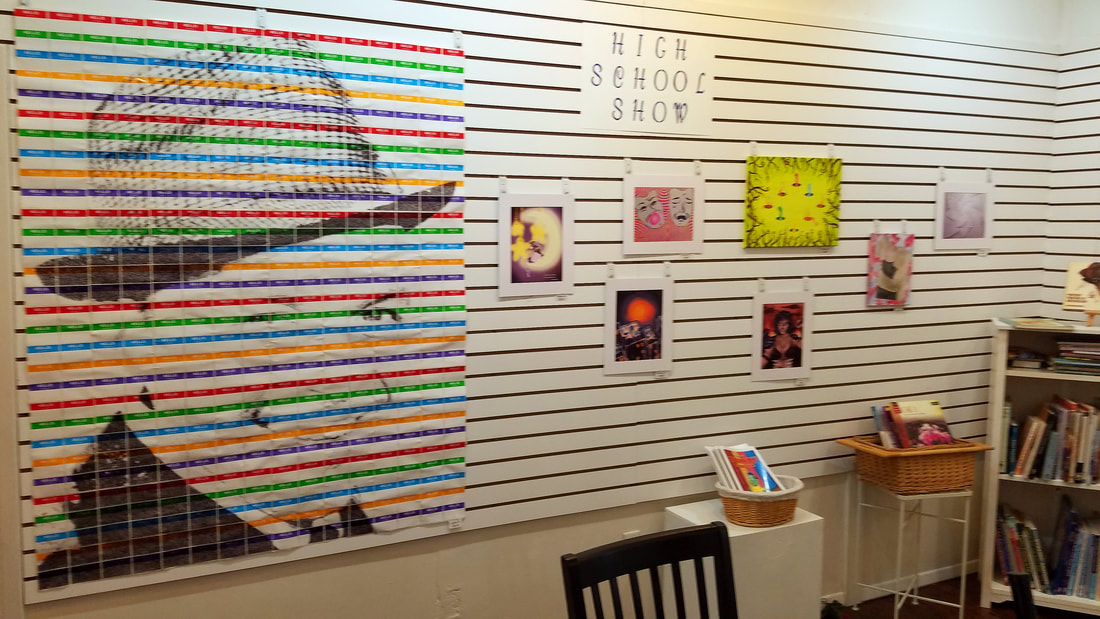
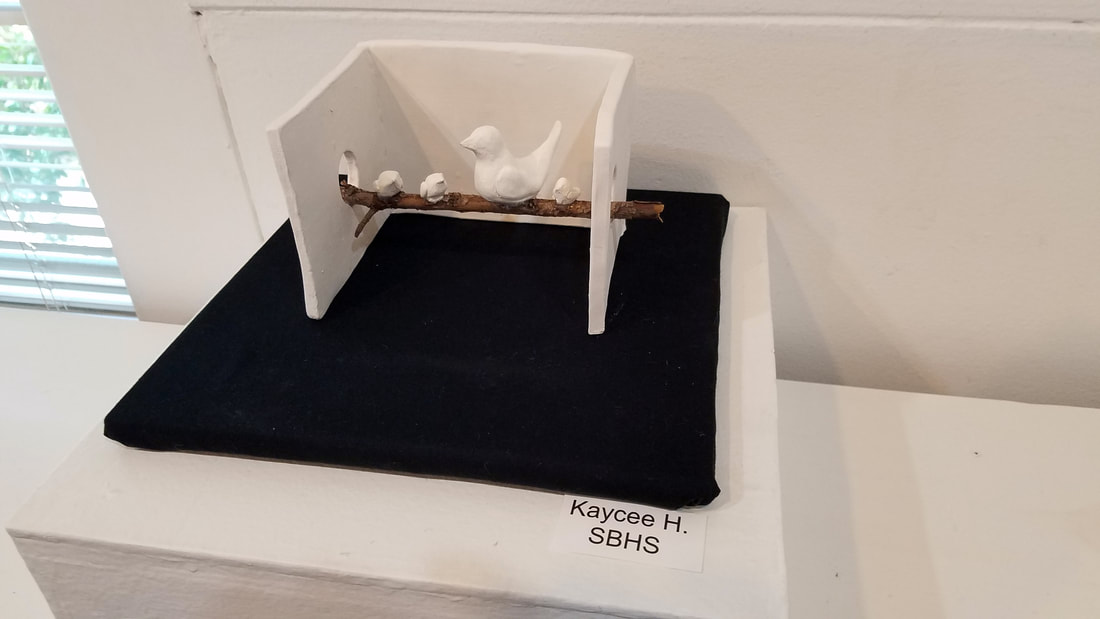
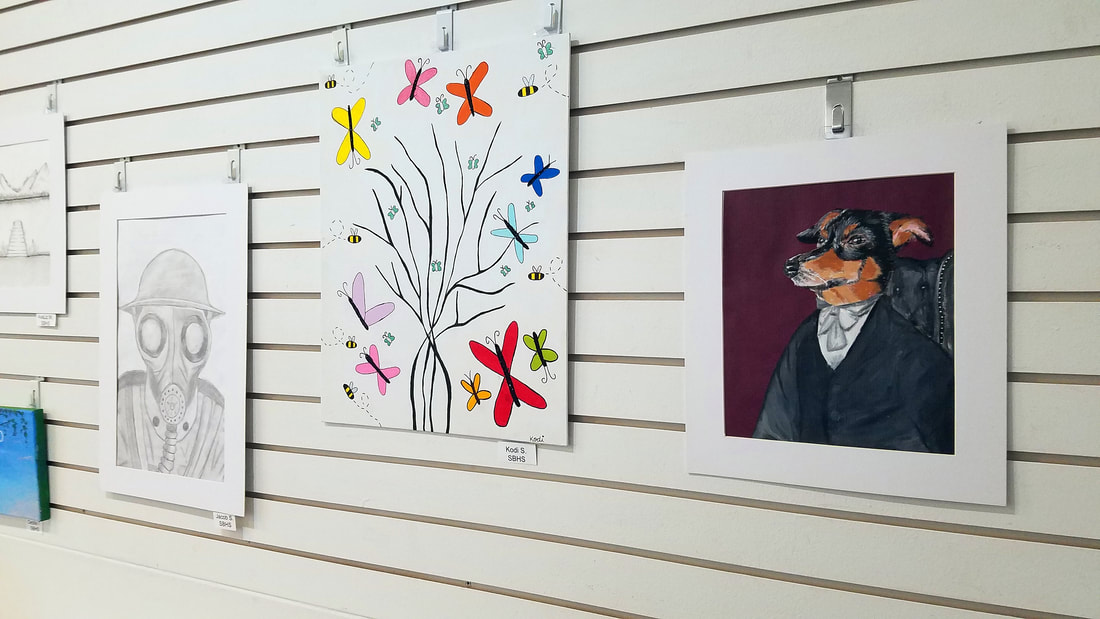
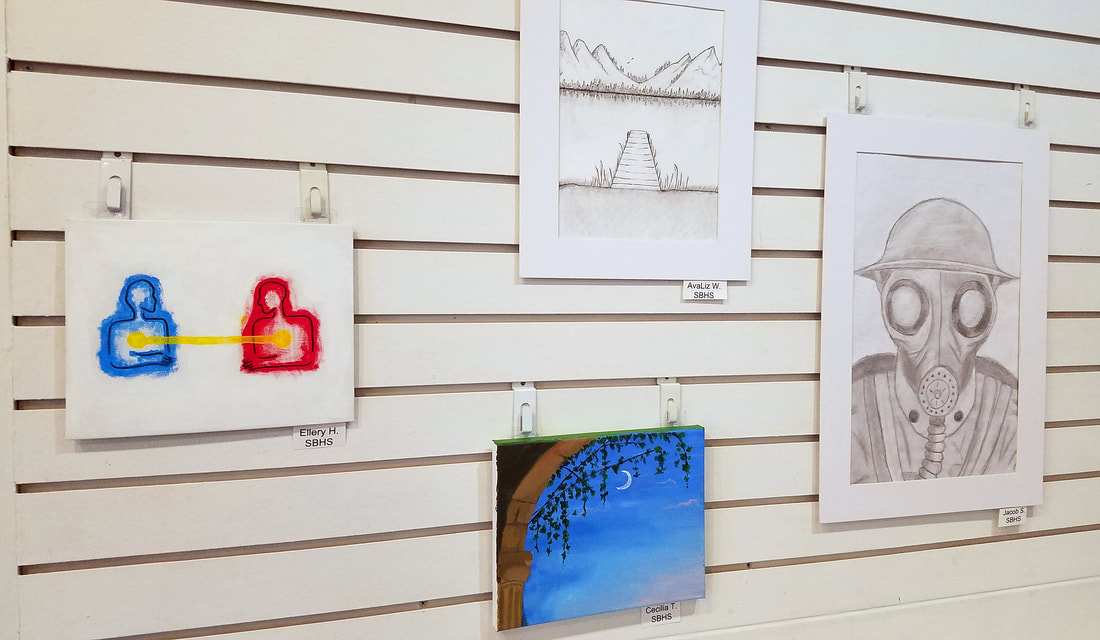
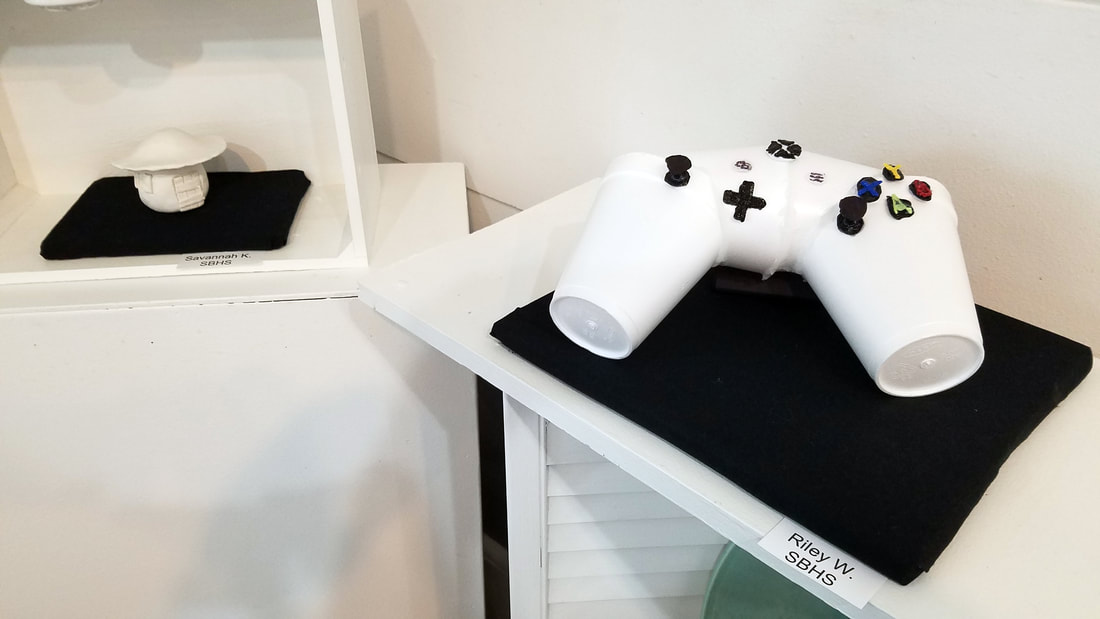
Responding: Anchor Standards 10 & 11 I Evaluate I will evaluate artists, artworks, or art concepts prior to creating art. I will consider how artworks influence my art making process I Am Inspired I will consider how artists, artwork or art concept inspire me. I will consider how this impact may inspire my work. ----- Connecting: Anchor Standards 7, 8, & 9 I Connect My art will be influenced by my community, culture or traditions. I envision my artwork impacting my community or society. I Communicate My art will convey a message to my audience. My artwork will reflect personal feelings, likes, or dislikes. ----- Creating: Anchor Standards 1, 2, & 3 I Create I will apply unique ideas in my work. I will combine an inspirational source with my own ideas. I Develop Skills I will improve my knowledge of a familiar material. I will incorporate new skills and/or techniques into my work. I Take Risks I will experiment with new art making methods. I will work with unfamiliar materials. I Solve Problems I will explore material, physical or conceptual limitations. I understand there may be unexpected issues, accidents, or mistakes. We Collaborate I will collaborate with others during the creative process. I envision other students improving the outcome of the final project. ----- Presenting: Anchor Standards 4, 5, & 6 I Reflect I understand my product may differed from my original plan. I anticipate decisions I may need to make during the art making process. I Present I am designing this work for showcasing. I am considering why this piece will be show worthy. I am considering tasks I will need to accomplish to display this work. 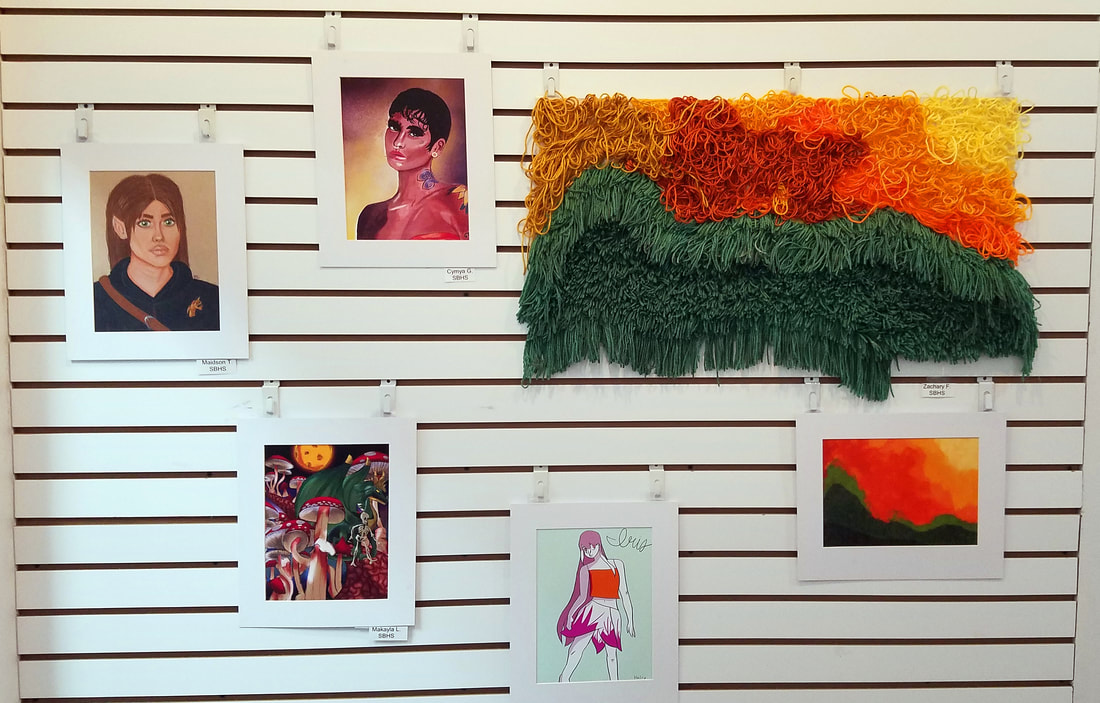 Each year the Franklin Square Gallery exhibits a High School Show to showcase the art of the most talented students in Brunswick County. Each teacher is only allowed to submit 15 works of art. At South B, we selected the students but left it up to them to decide which piece they would submit. Awards were presented today and the students of South Brunswick High School won seven! Take a peek! 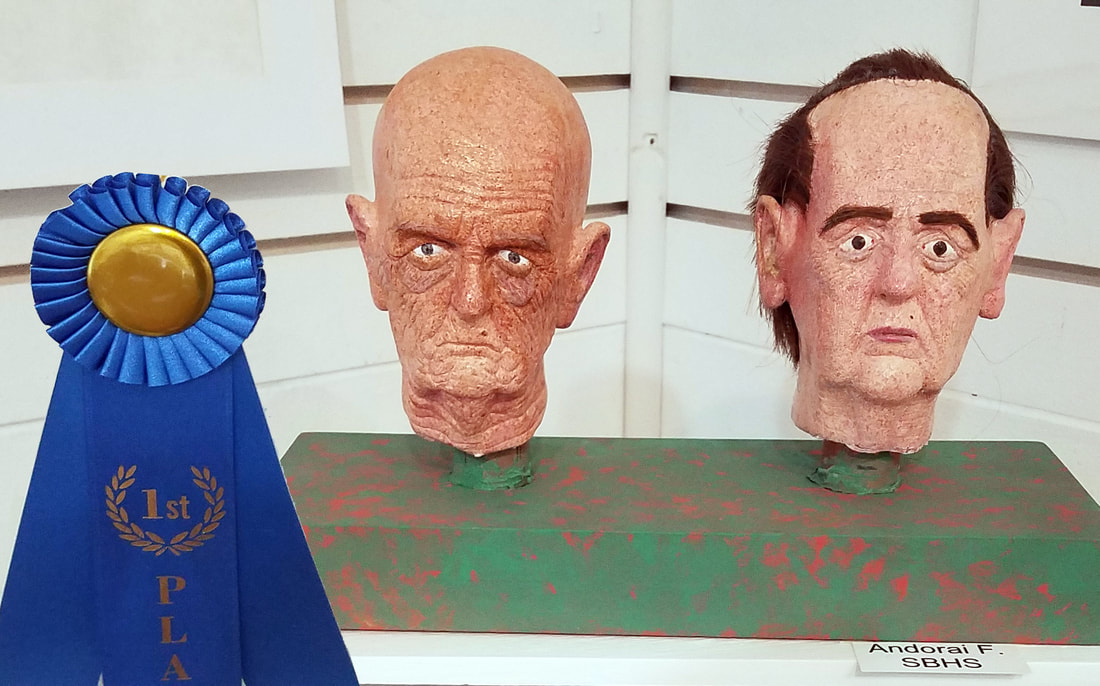 Andoria F. 1st Place 3D 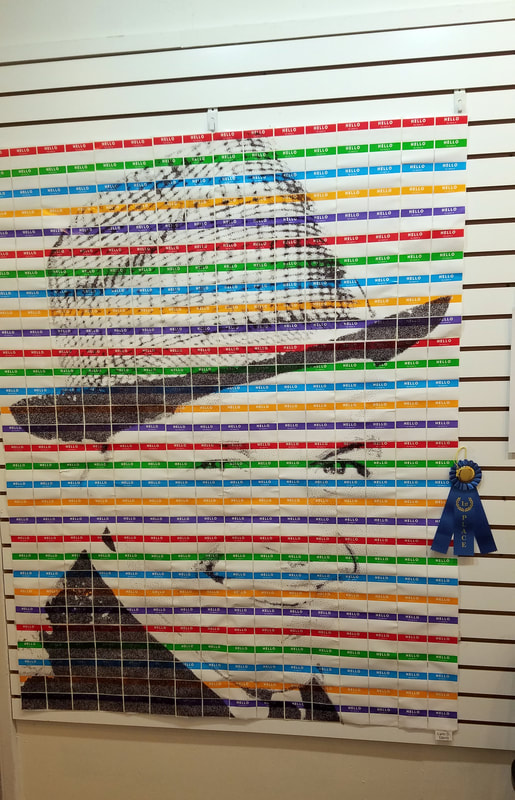 Trey D. 1st Place Graphics 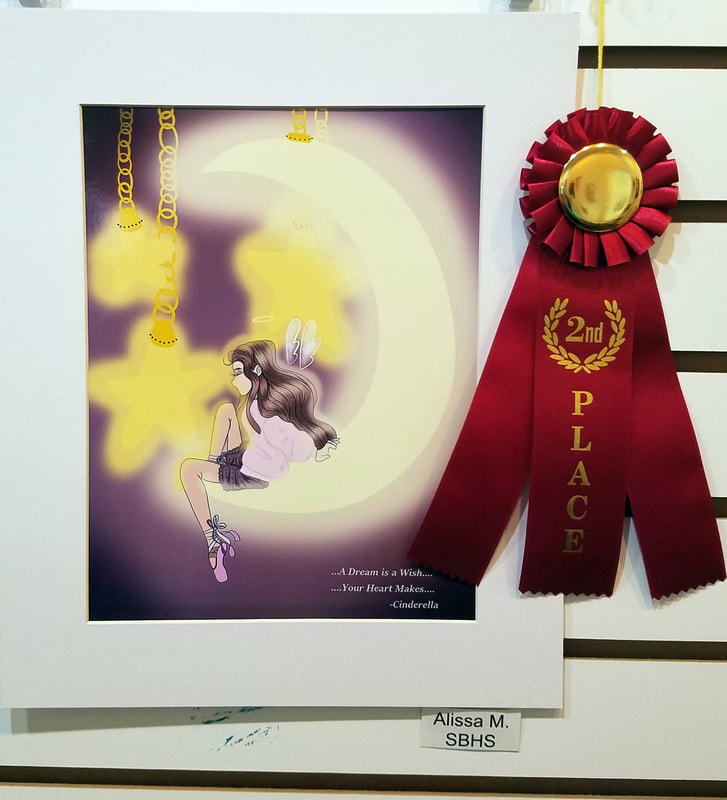 Alissa M. 2nd Place 2D 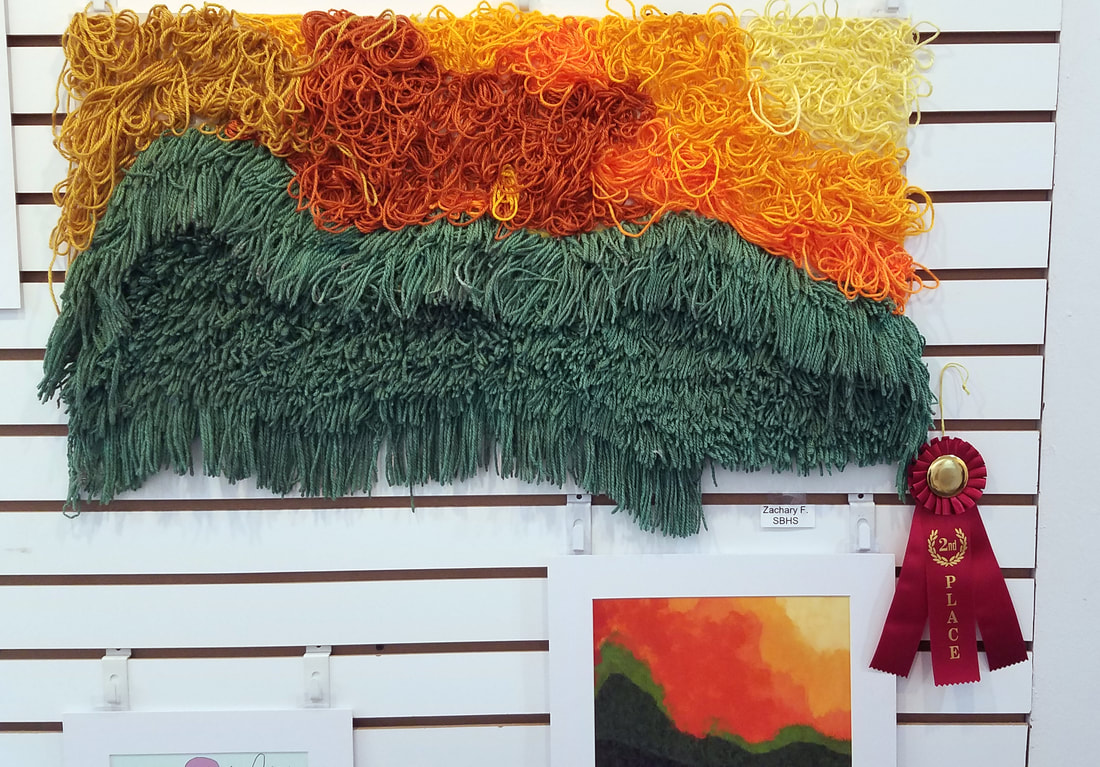 Zachary F. 2nd Place 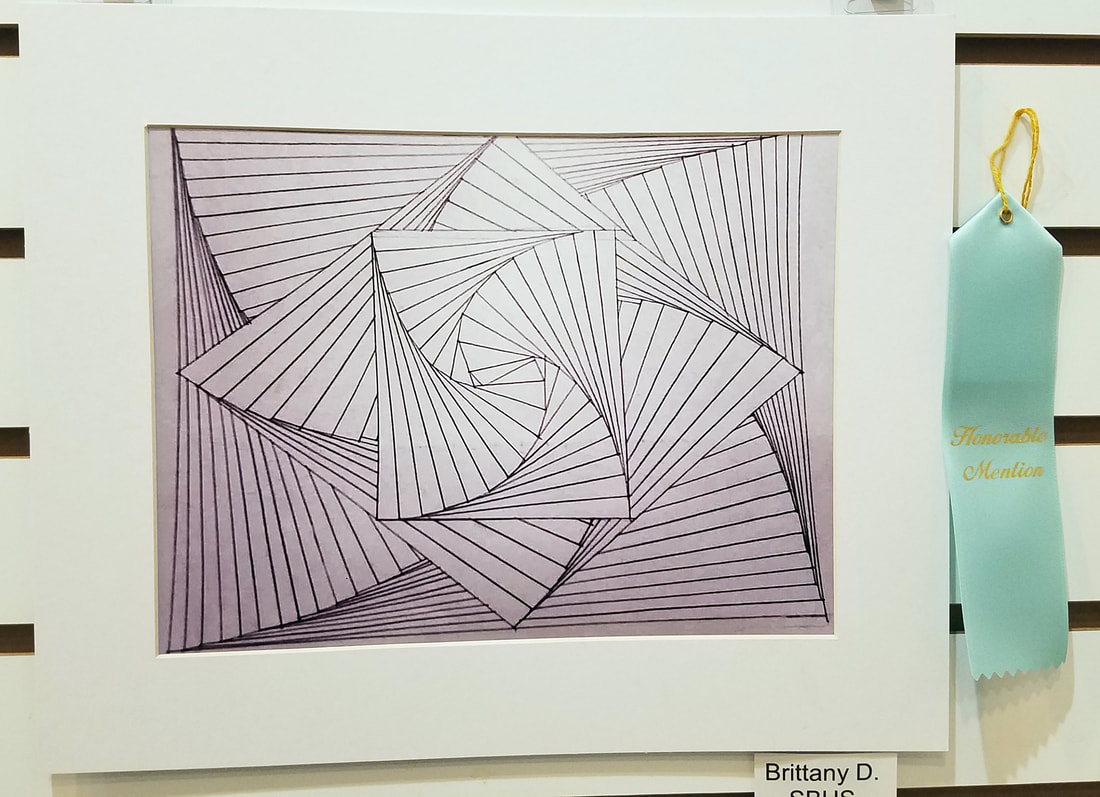 Brittany D. Honorable Mention 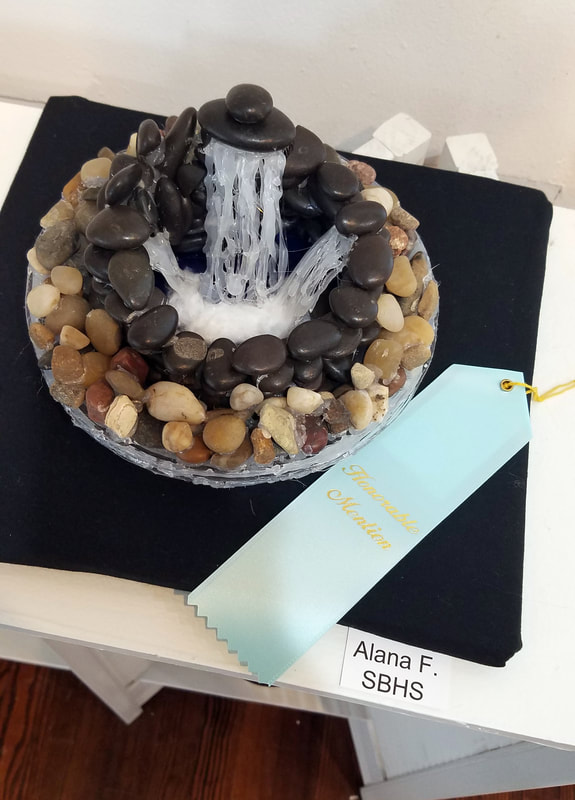 Alana F. Honorable Mention  Emily W. Honorable Mention Text as an ElementThe Intermediate class was challenged with the task of creating a work of art that incorporated text in some way. Here's a look at the unit, followed by a few of the works created for this unit. 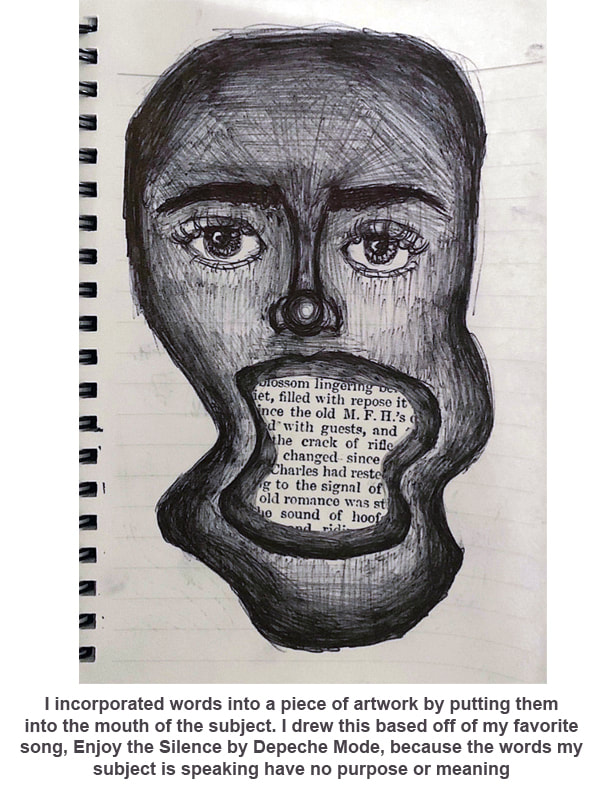 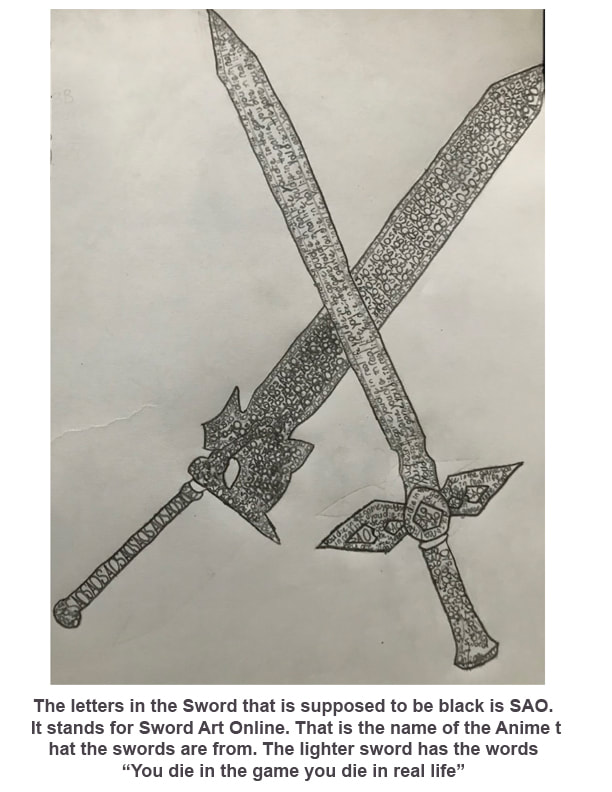 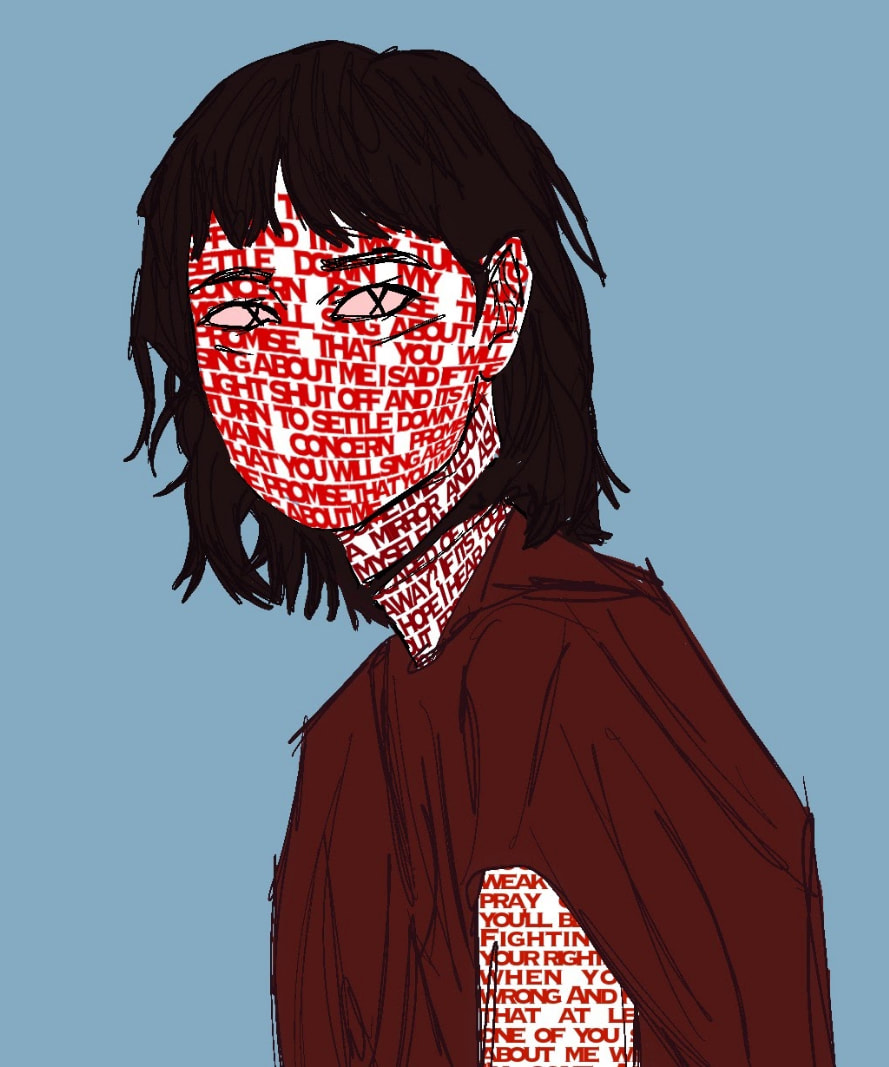 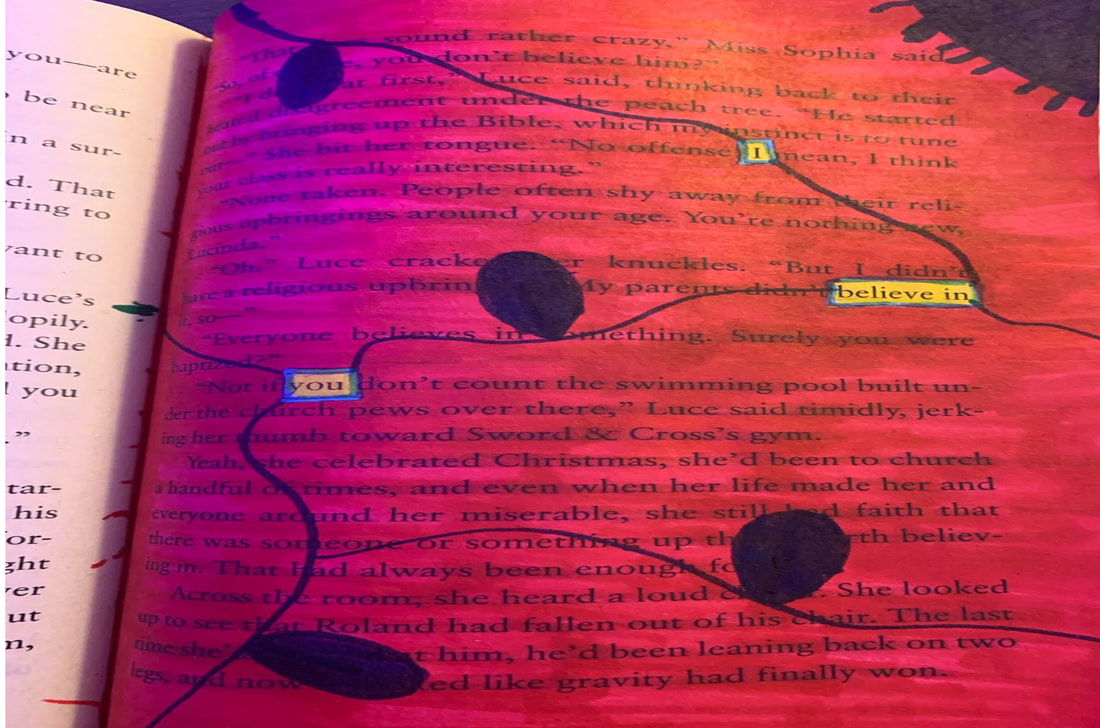 The Nine: LandscapeOur Beginner Art students were challenged with creating a work of art based on the Nine subject-based theme, Landscape. Below is the unit overview followed by examples of student work. 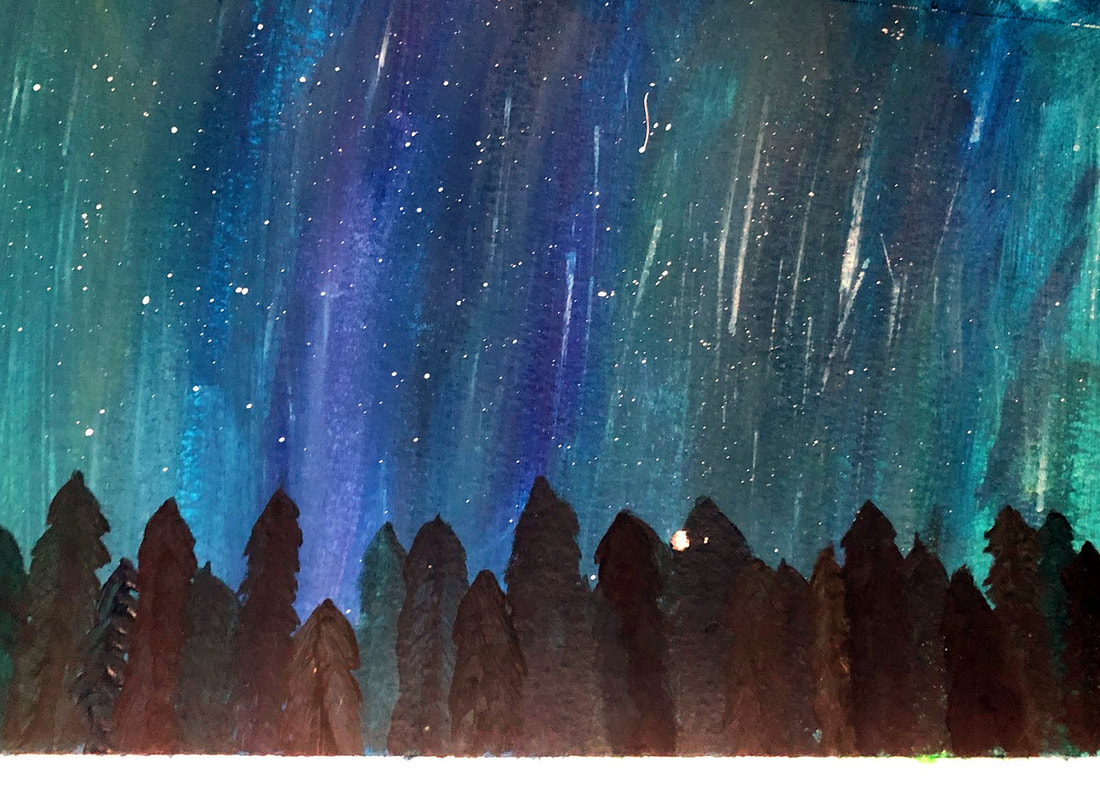 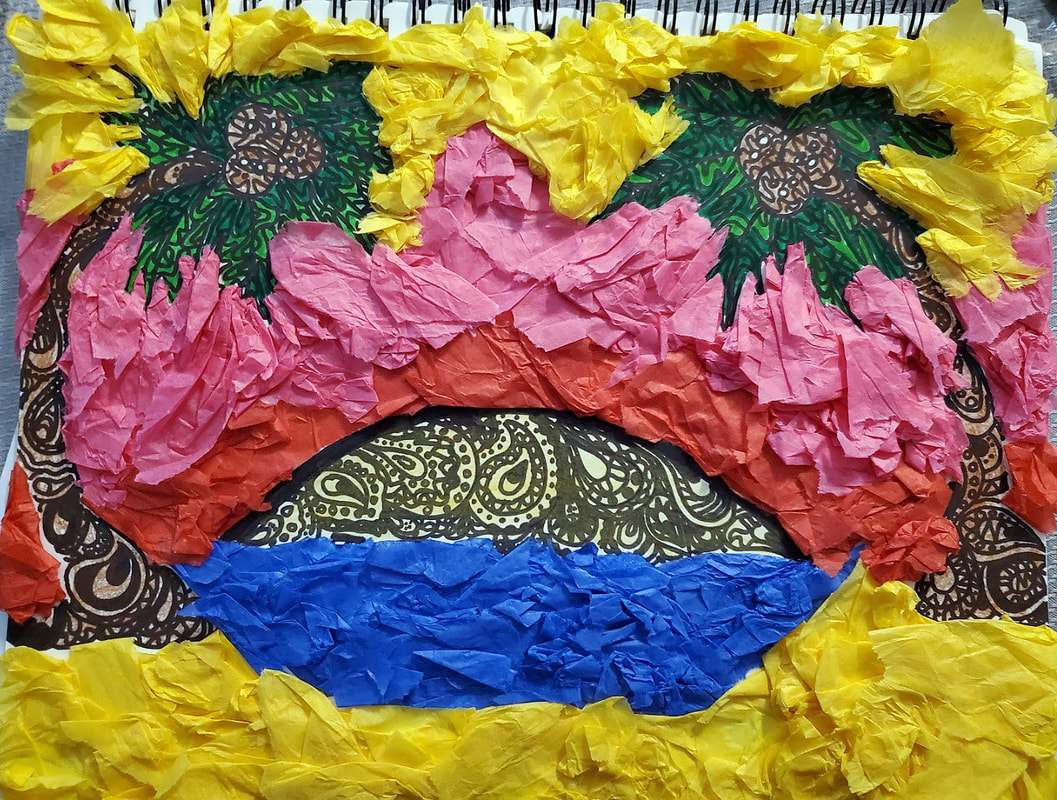 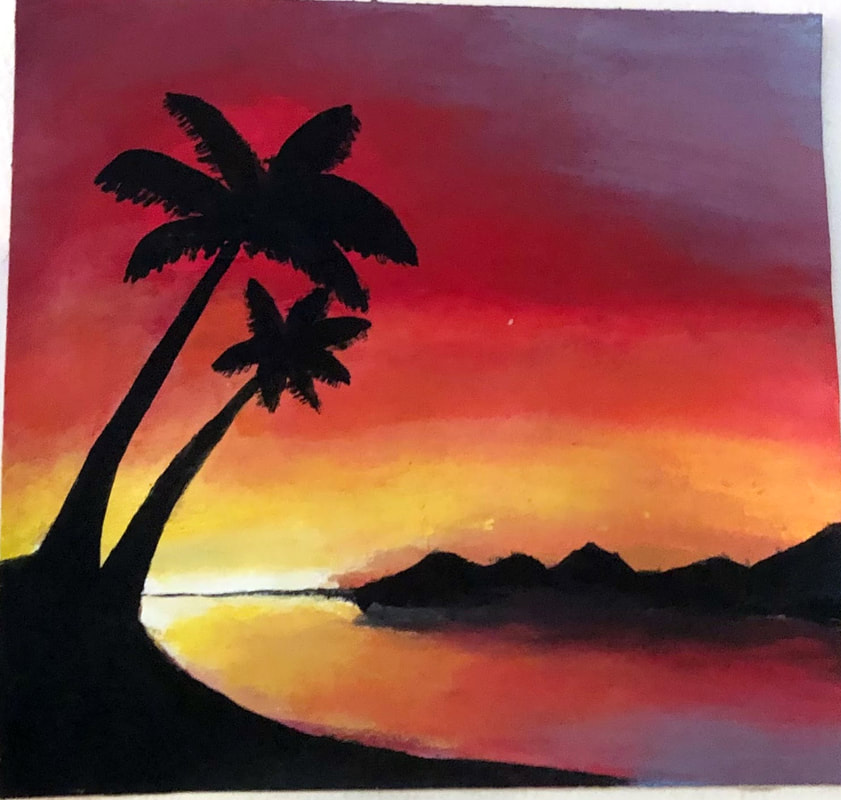 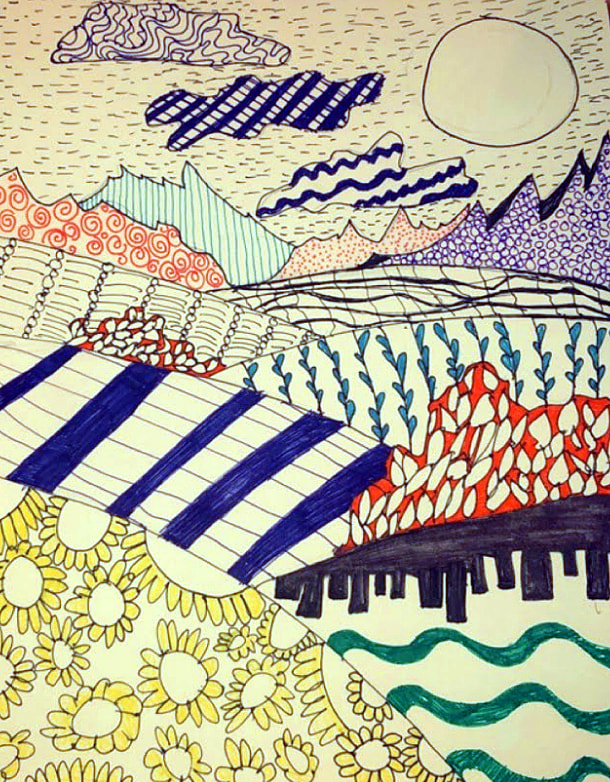 Here at The Art of South Brunswick High School, NC, we incorporate the Teaching for Artistic Behavior or TAB philosophy in our classroom. TAB states that the student is the artist and the art room is their studio.
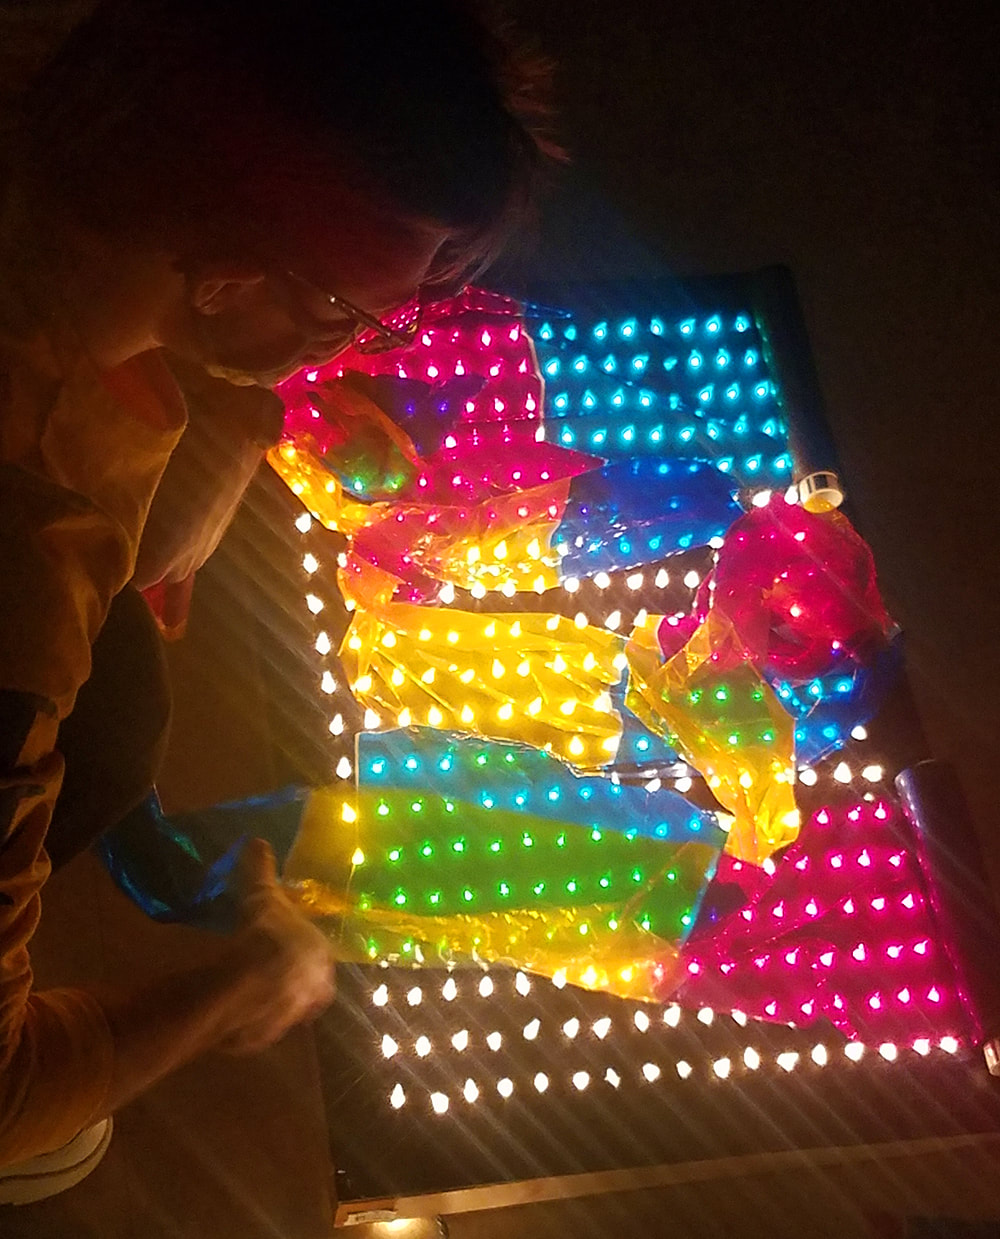
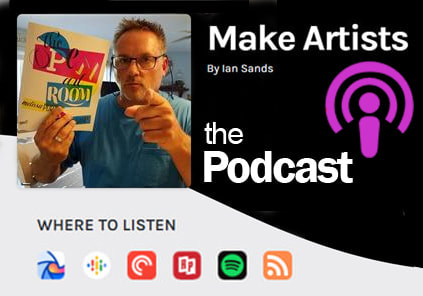
We believe students should be involved in the entire artistic process including designing, creating, and reflecting on their work. It is our job as teachers to present ideas and concepts, demonstrate techniques and materials, and encourage and support our students to create and produce works of art at the highest level. 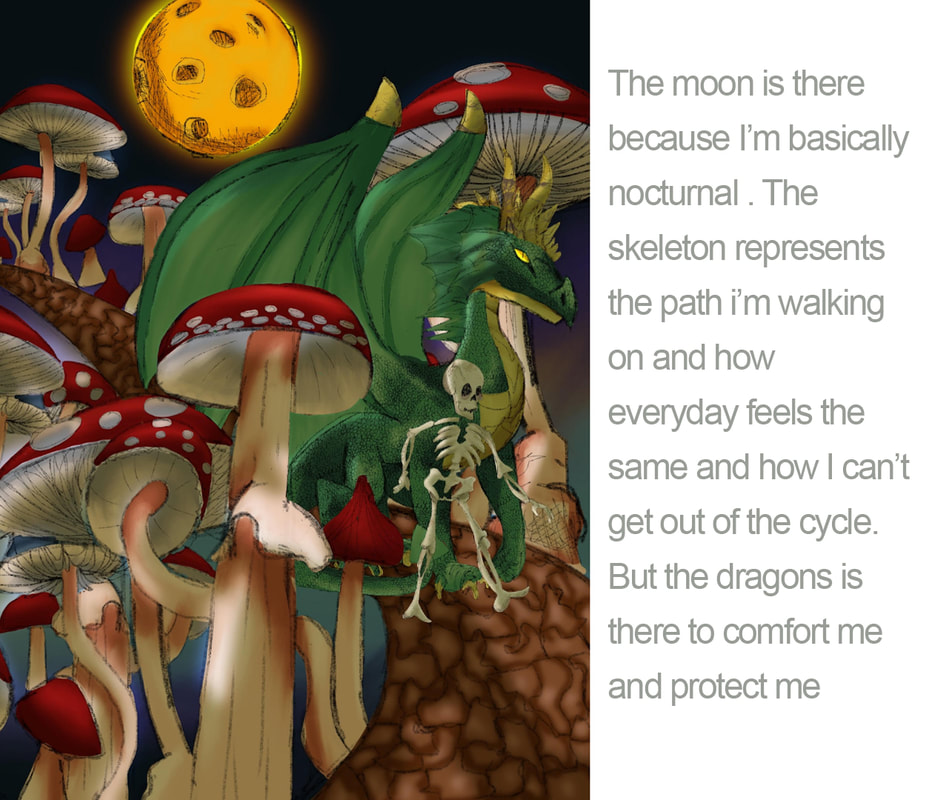 How can an artist create a portrait without representing what the person looks like? That is the objective of this lesson. Create a self portrait without actually drawing or painting a self portrait. The idea originated from a work of art created by Felix Gonzalez-Torres titled Portrait of Ross. The artwork is a giant pile of candy. The pile of candy weighs the same weight that Felix’s friend Ross had before he got sick. When you visit the artwork, you are allowed to take a piece of candy with you when you leave. Each time you take a piece away, the pile of candy weighs less and less. Unfortunately, this is what happened to Ross. When he got sick, he lost weight and eventually passed away. So the pile of candy represents and is a tribute to Ross, without it actually portraying his likeness. 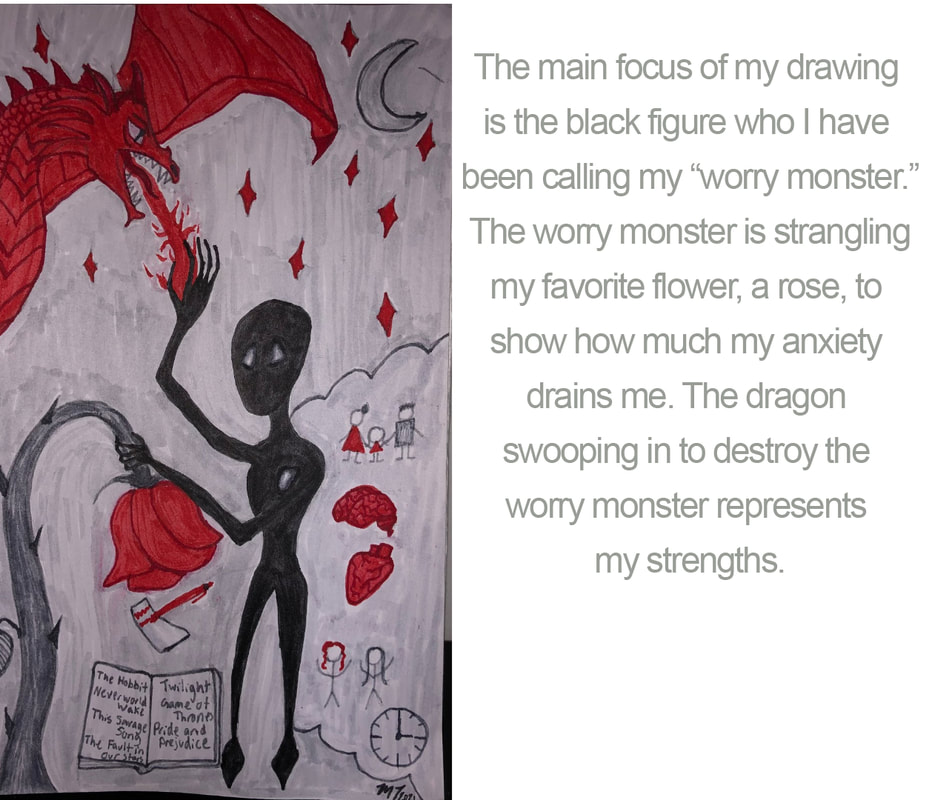  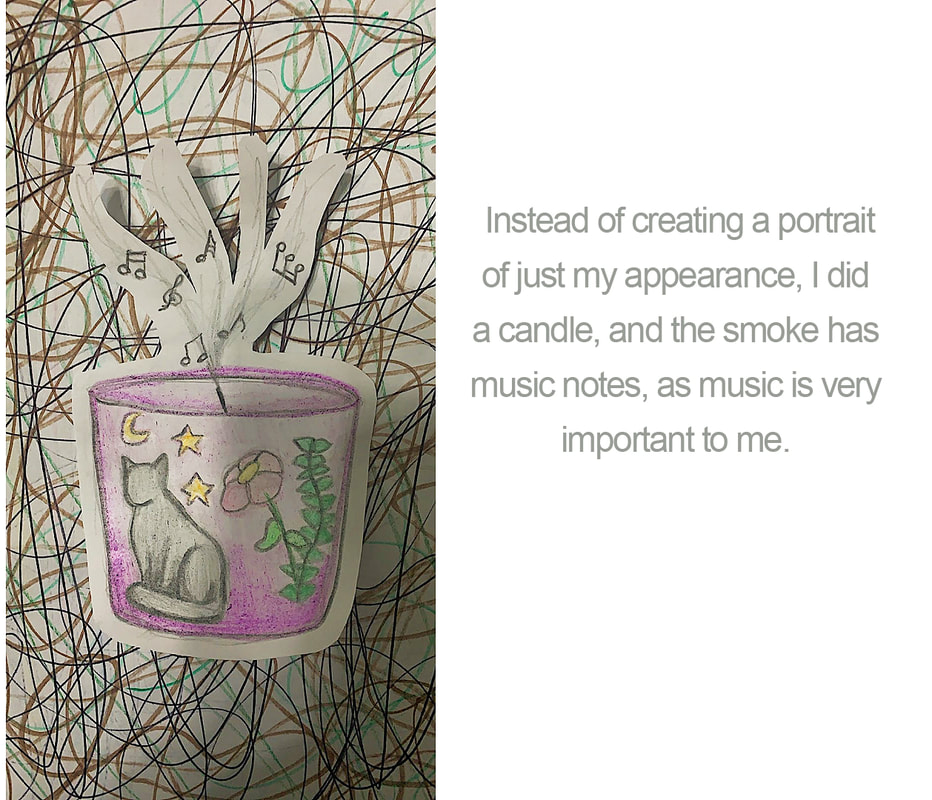 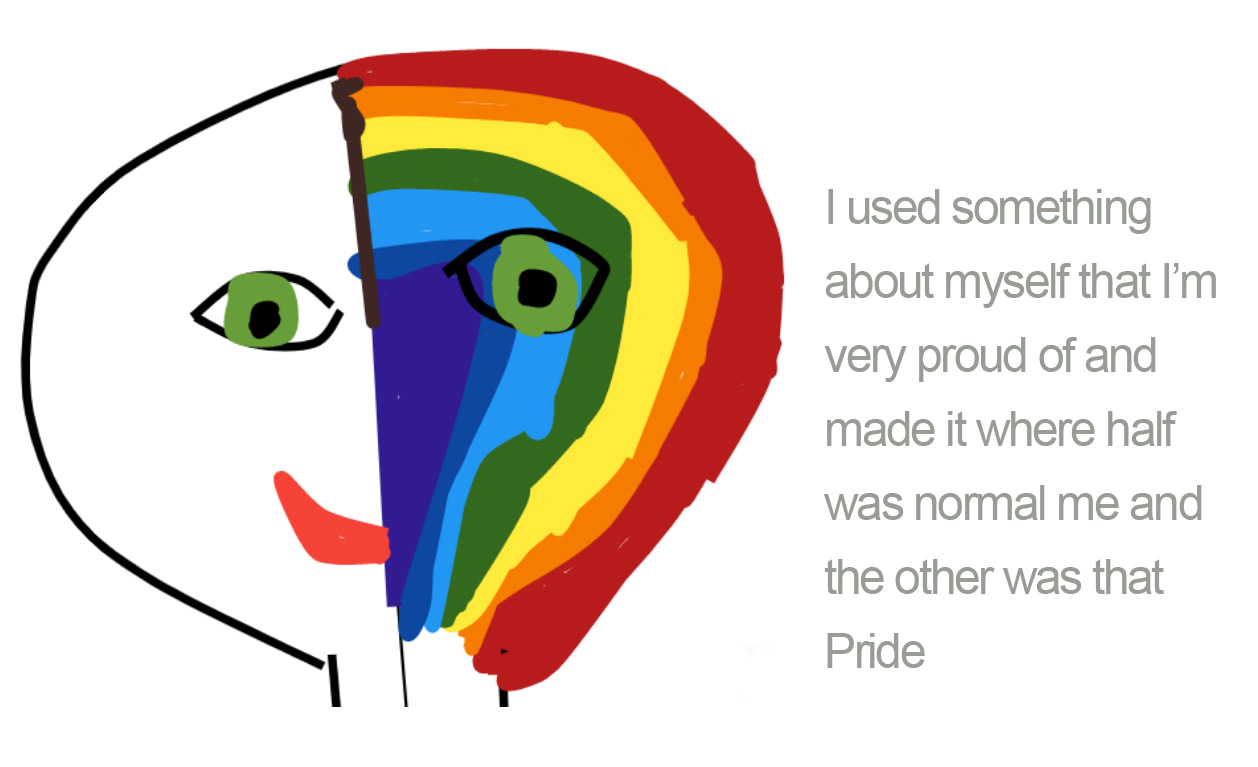 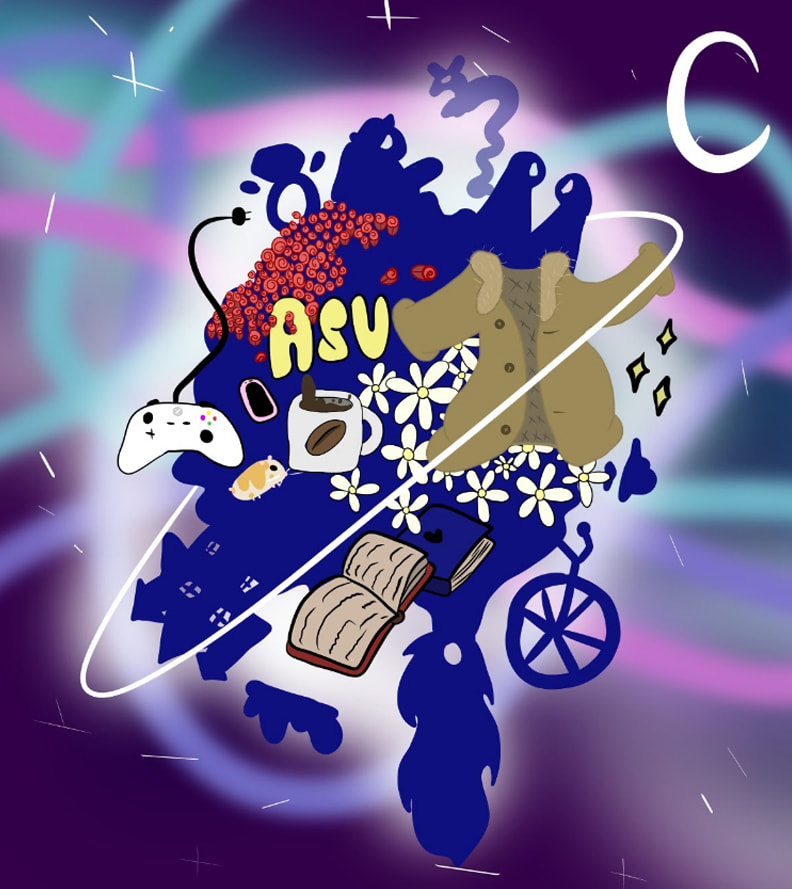 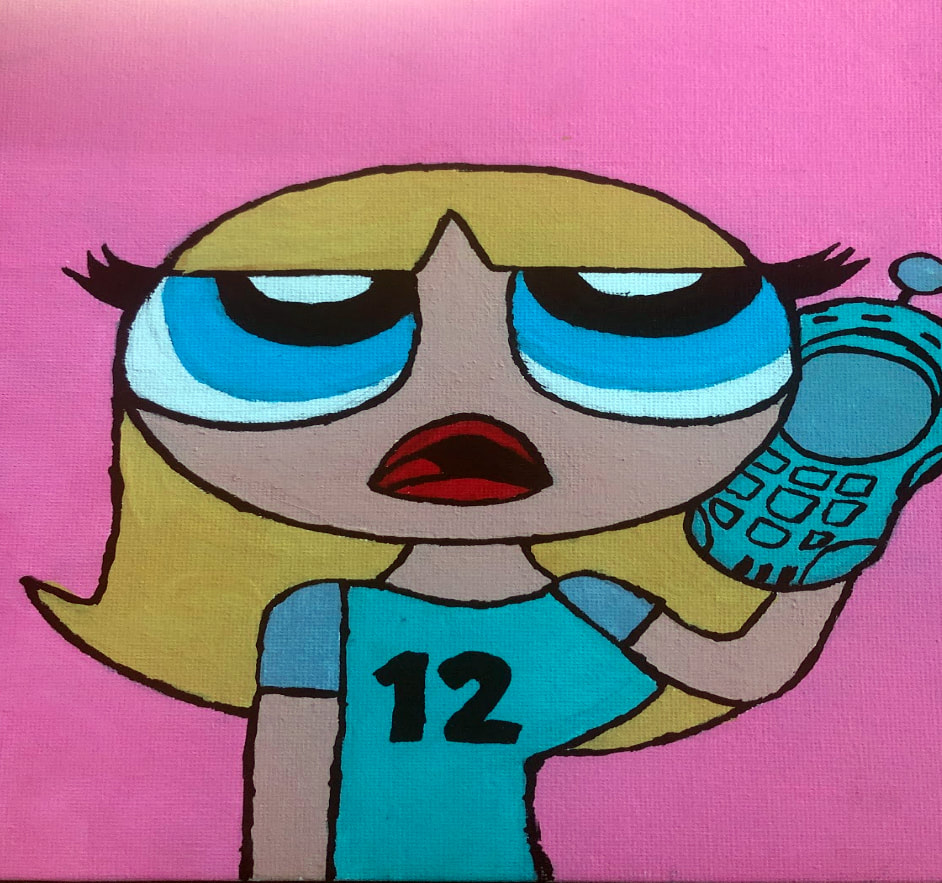 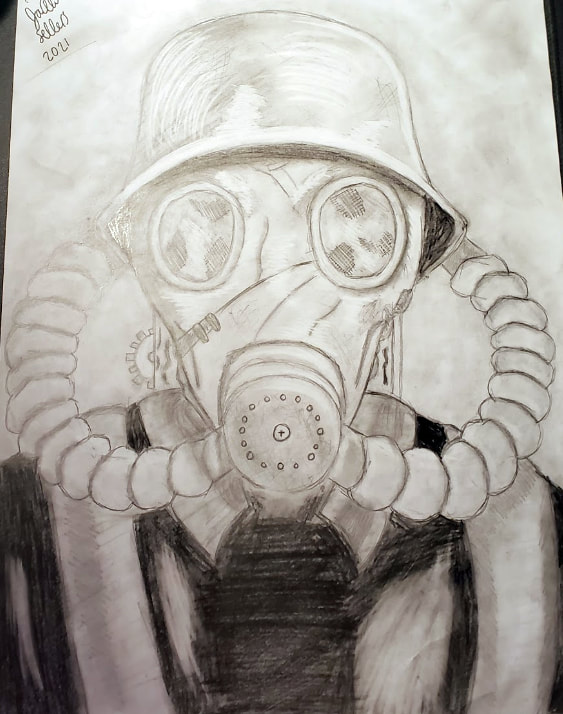 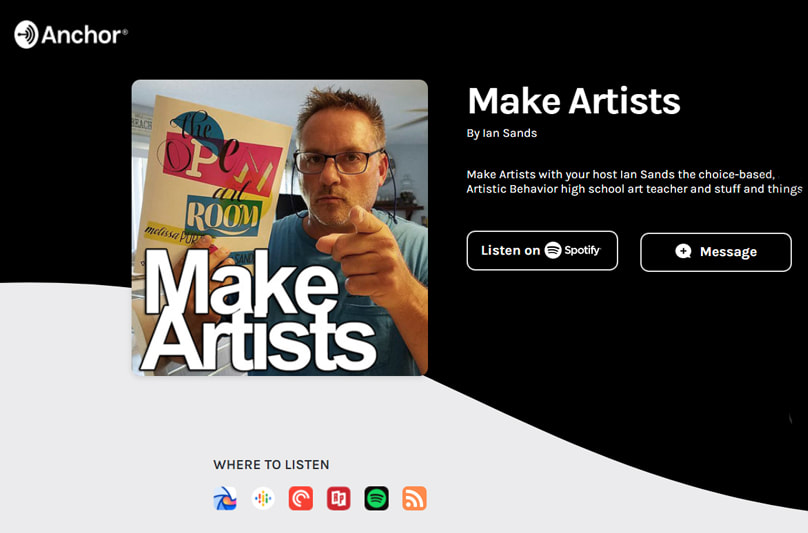 I follow several art teacher Facebook groups. Whenever I share that fact with my non art teacher friends, they give me a look like, “Wow, you’re quiet the geek.” I guess to most, that would seem true. However, to the art teacher, it might seem very ordinary. Art teachers utilize Facebook groups, as well as Twitter, to share ideas, seek answers to art teacher questions, and find solutions to art teacher issues. When I put it like that, it still sounds pretty geeky, but these groups can actually be rather helpful. Whenever someone asks an art ed question, especially if it relates to choice-based or Teaching for Artistic Behavior (TAB), I do my best to respond. I have no problem sharing resources. Much of the content I share is available on this website. I’ve also placed most everything I’ve learned in between the pages of The Open Art Room and Making Artists, not to mention a few years’ worth of articles for SchoolArts Magazine and The Art of Education.  All of these resources combined form a good deal of content. However, there was one issue. All of this content was floating around in different spaces. I wanted to find a way to consolidate this content into one location. That’s when the idea for the Make Artists podcast was conceived. Make Artist is a weekly podcast where we will discuss all things choice-based. In fact, that’s how we describe the show. Make Artists, with your host Ian Sands, is the choice-based, student-directed, Teaching for Artistic Behavior high school art teacher and stuff and things... but mostly stuff. So please consider following along. Each episode is available for download at anchor.fm/makeartists or you can find us on Breaker, Google Podcasts, Pocket Casts, or Spotify.   It's a new year, a new semester, and a new unit. In fact, it's our first unit of the new year of the new semester. To go along with that, we are starting out 100% virtual. That means, everyone is home and they have to start the year creating art with whatever materials they can get their hands on. That's ok. It's sort of how TAB works. So, to start the year, we are beginning with a very open project. We titled out first unit, Getting Started.  The objective of the Getting Started unit is two fold. First, to make sure students have a home studio space in which to work. This can be on the kitchen table, a desk in their room, or the garage. It's up to them where but hopefully a place where they won't be distracted and don't need to worry if they make a little mess in the process.  The second objective is to find materials they can work with. These materials can be things they already have at homes like paper, crayons, pend and pencils. Or, if they want, they can purchase materials at the local Walmart or Dollar Tree. Or, they can use found objects like sticks from the yard, nuts and bolts from the garage, or food coloring from the kitchen. Whatever works for the student, works for the unit.  So that leave the subject, what can they create? Well, we left that up to them. Anything they find interesting. Any skill or technique they want to uses. As long as they meet the first two objectives, the rest is up to them. So this post is a look at some of the artwork we received.     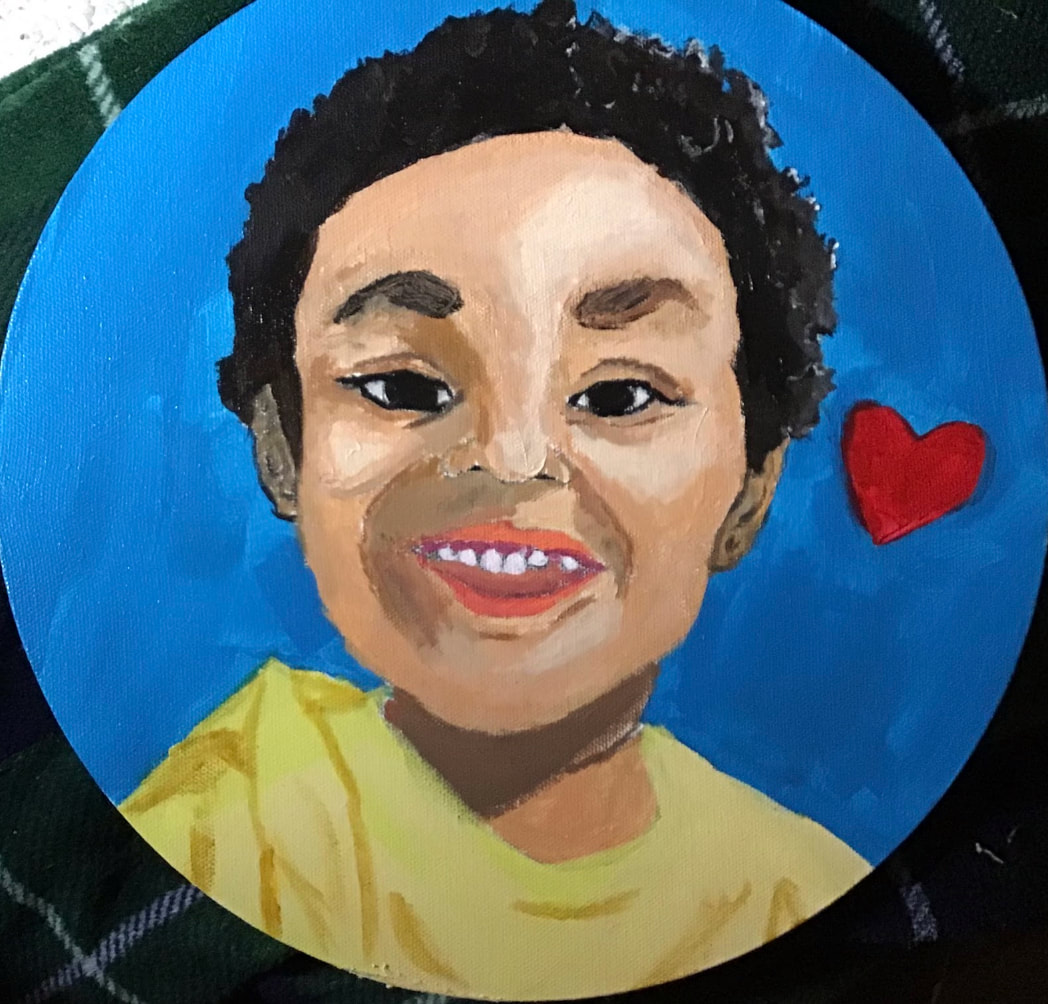 After viewing work by our senior students, a 10th grader was lamenting over the quality of her work. "I wish my work was that good," she said. Clearly, there are two things she doesn't understand. First, her work is good. In fact it is very good, especially for a 10th grader. Why the disclaimer? Why say, "for a 10th grader?" That brings me to my second point. Between 10th and 12th grade, a phenomenal amount of growth can occur. This is hard for the 10th grader to understand but think of it this way. Two years ago, a 10th grader was in middle school and since then, they have grown. Most likely they are taller, they wear different size shoes, and their hair has been cut, or at least trimmed, several times. In two more years, more growth will occur and they will look nothing like they did when they were in middle school. In the same way, their artistic growth can progress. The more art they make, the more they experiment, the more they reflect and revise, the more they will grow. To prove this, I dug up some works of art from when the seniors, whose work the 10th grader so admires, were in 10th grade. I've posted these works side by side next to their art as 12th graders.
 This week's post is just about stuff and things but mostly stuff that is happening in the art room. Some of it is taking place right here in class while other stuff and things is happening at home. But its all the art room as far as we are concerned. Above, an AP art project, transposing traditional landscapes through non traditional methods. 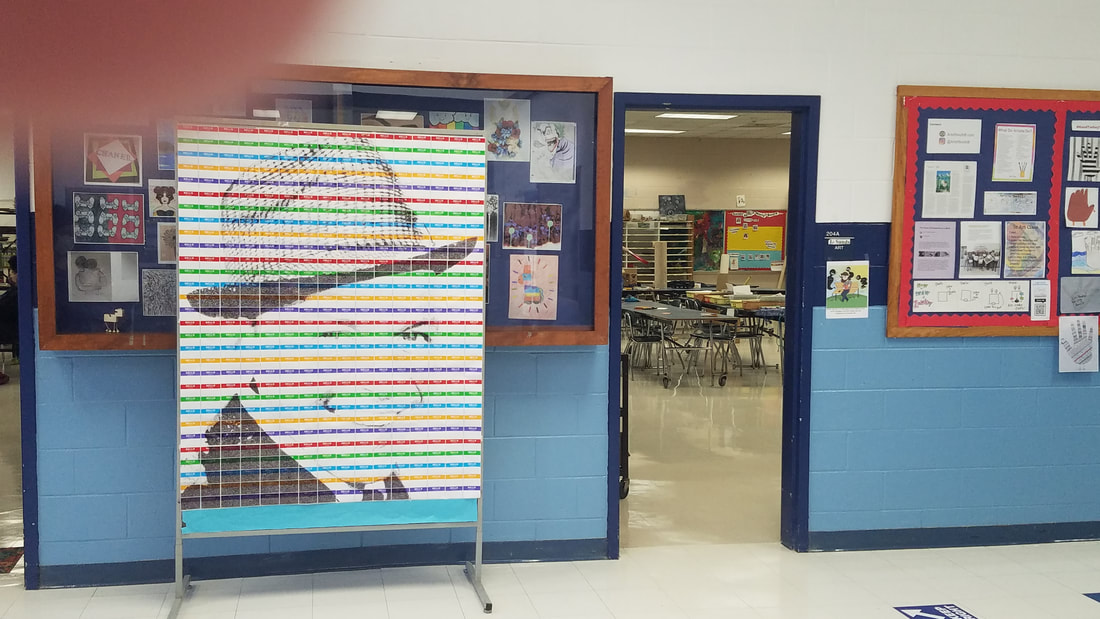 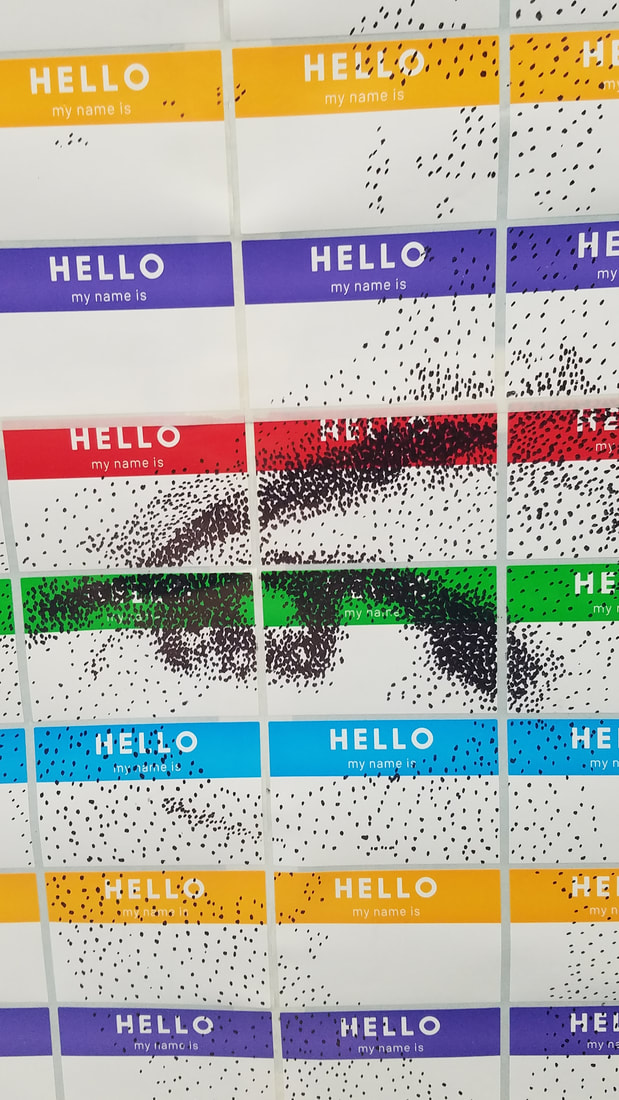 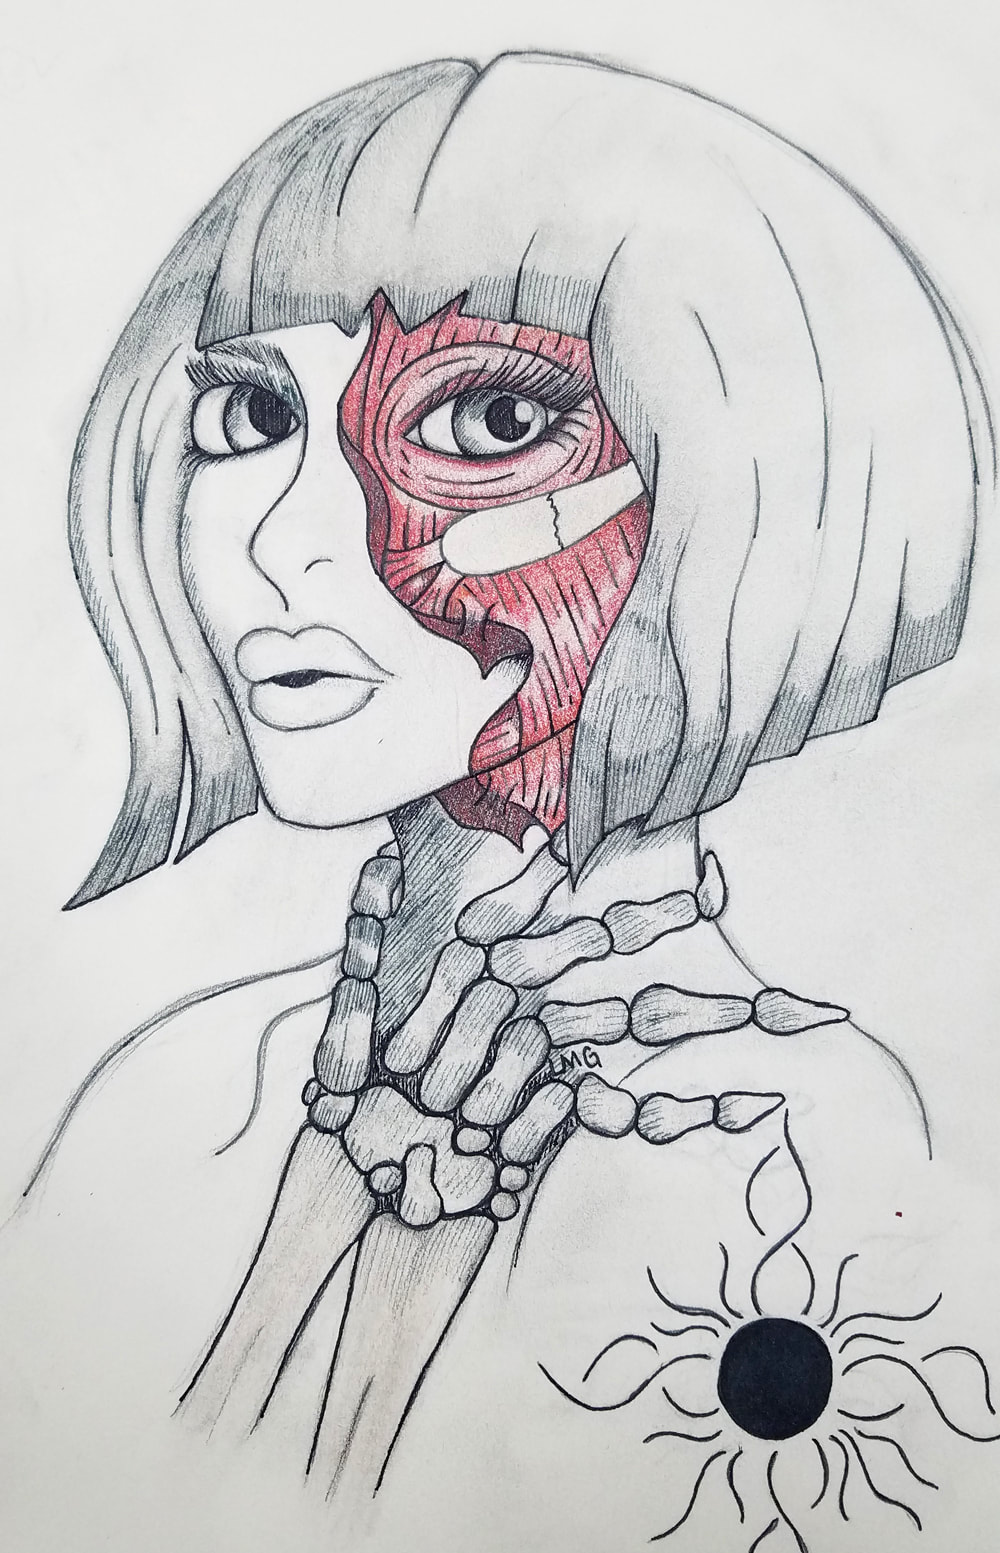 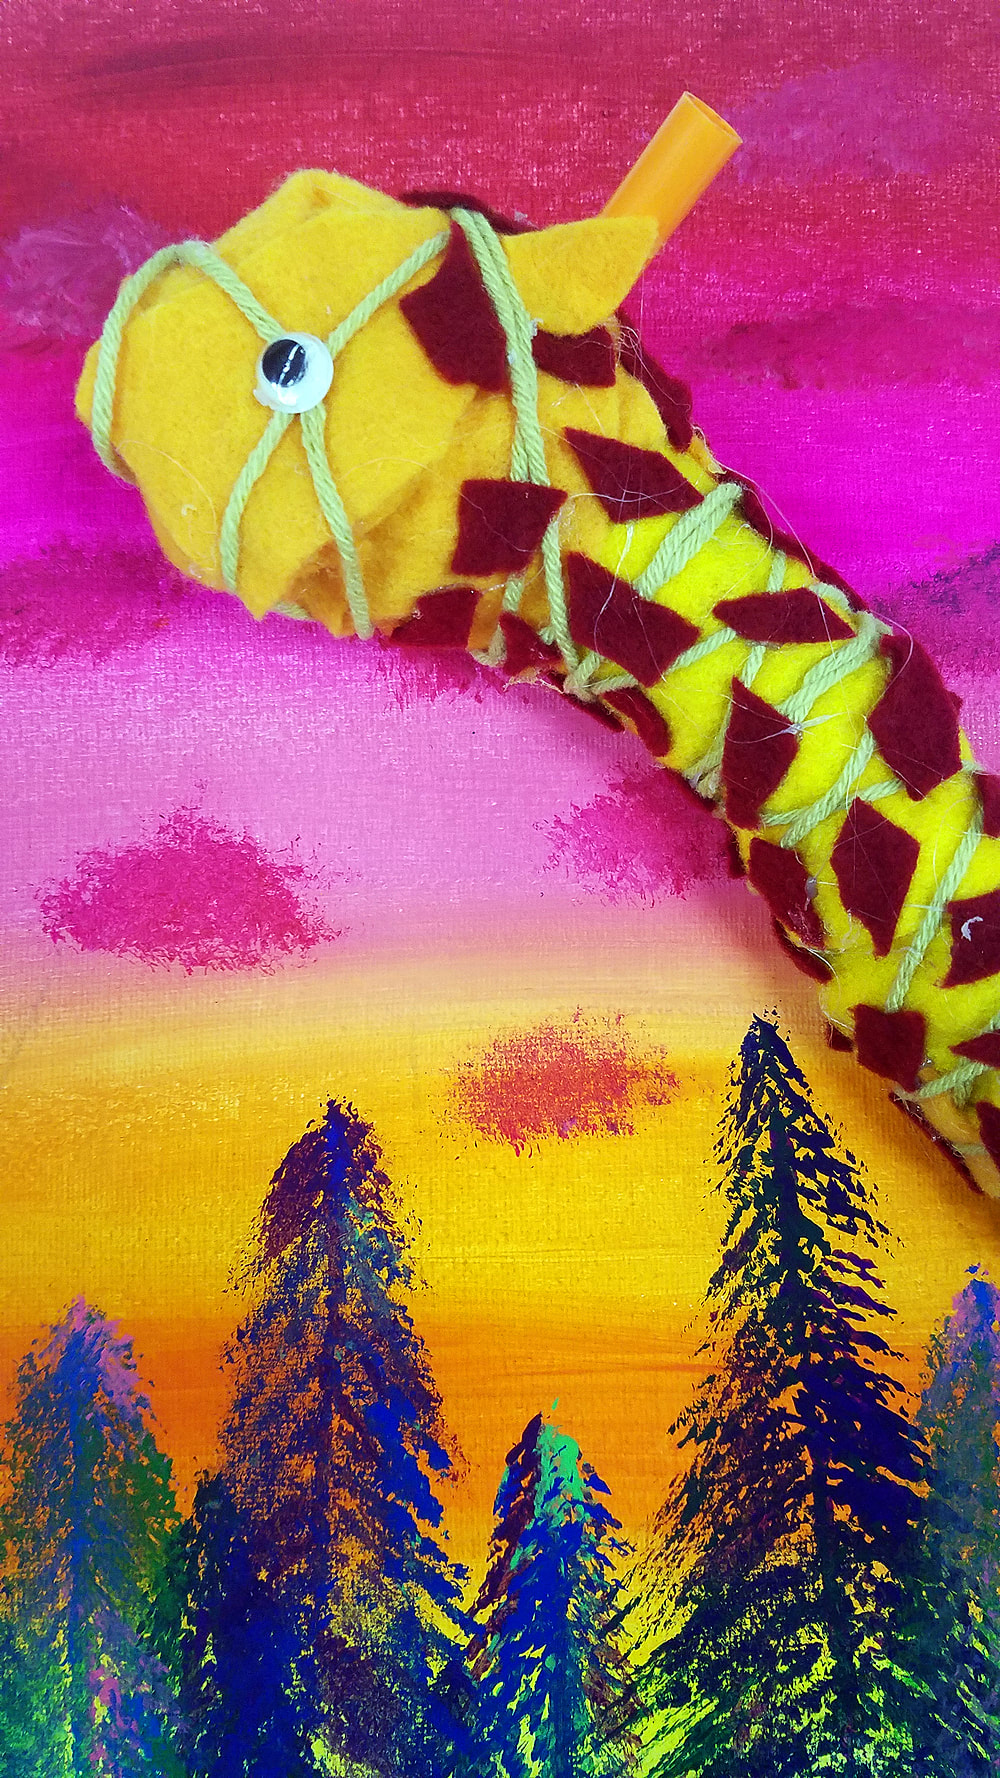 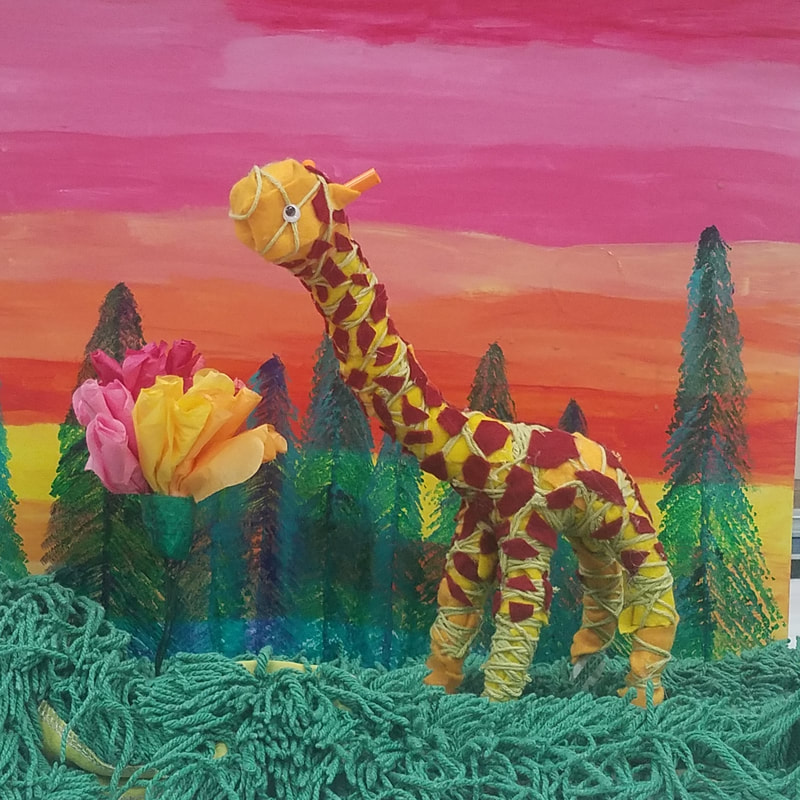   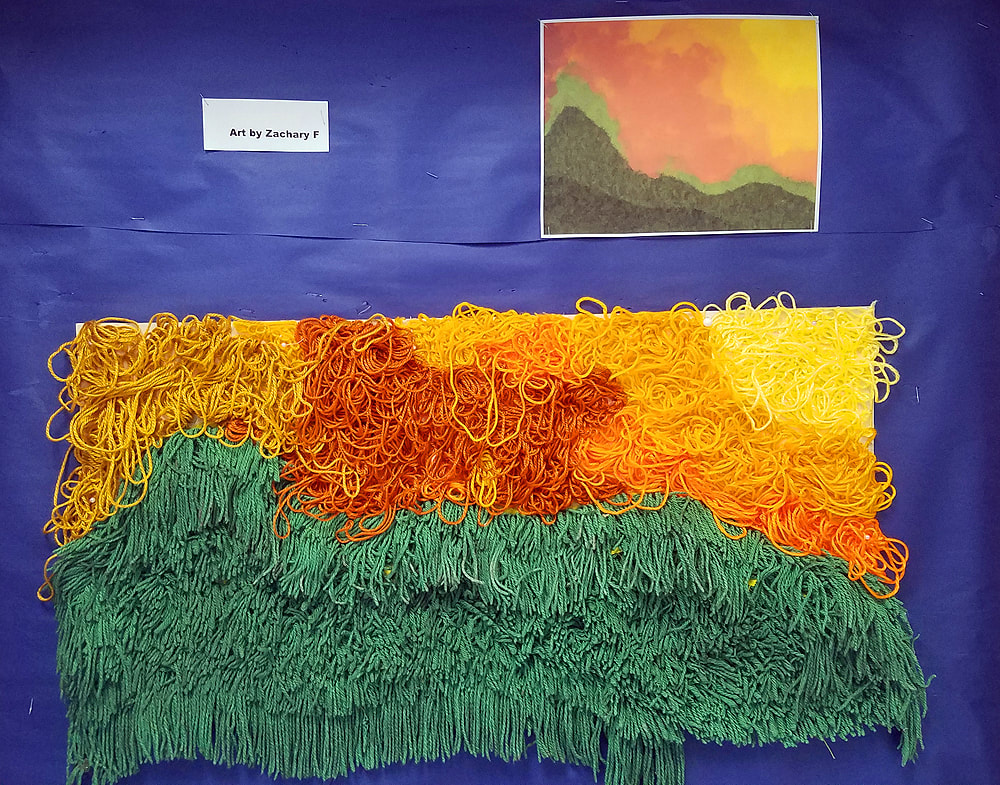  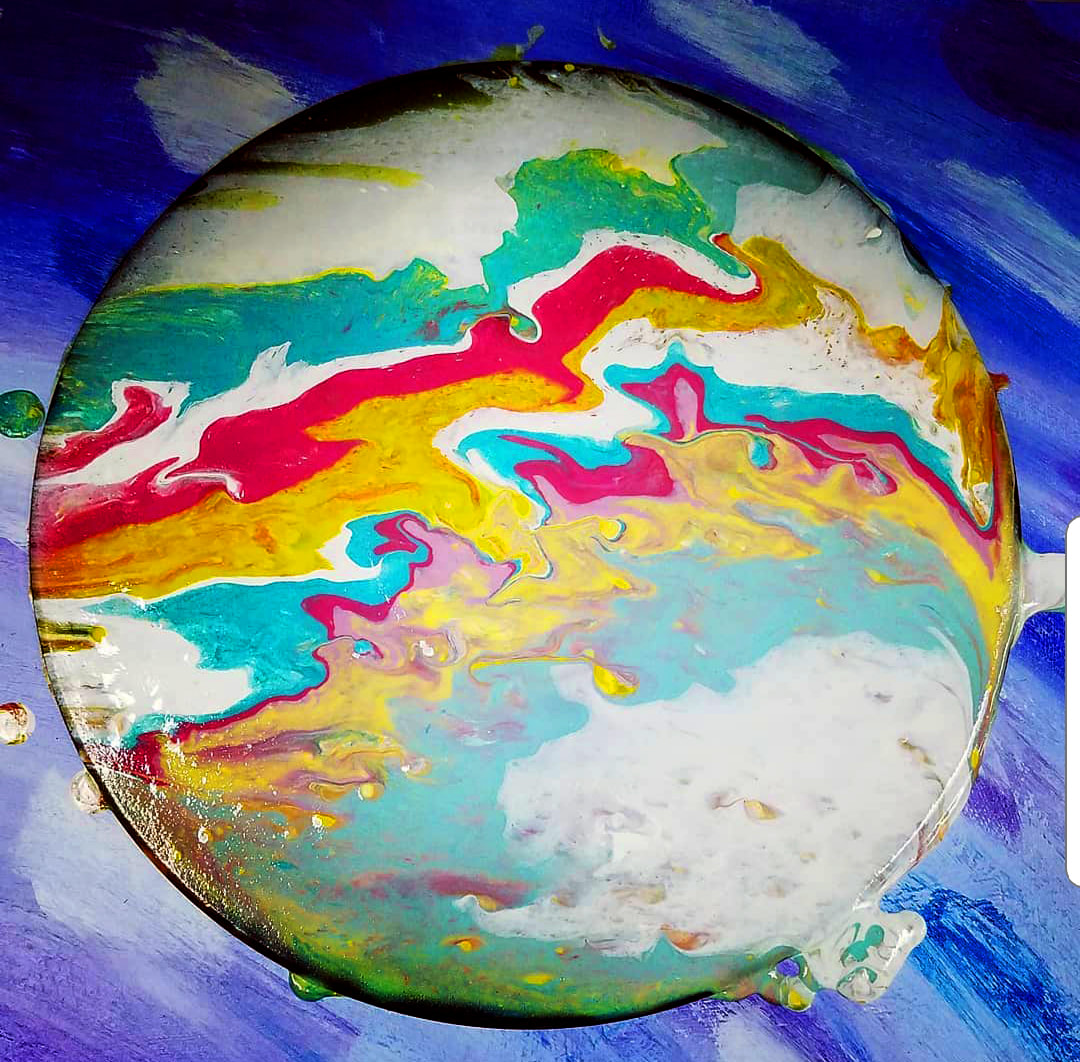 |
Art of South BArtwork by students at Art of South BThe Visual Arts Dept. at SBHS is like no other program in the state. Learn more, watch the Intro to South B video.
The PodcastListen to the
Make Artists Podcast with your host Ian Sands the choice based, student directed, Teaching for Artist Behavior, high school art teacher and stuff and things... but mostly stuff. 
What's TAB?Teaching for Artistic Behavior (TAB) is a student-directed art education pedagogy that directs students to think and work as artists.
Books
Making Artists picks up where The Open Art Room left off, covering issues and situations choice teachers encounter as they design their program.
The Open Art Room provides a student-centered approach to art instruction that is inspirational, practical, and classroom-tested.
Articles
Click Here to read the May SchoolArts Article, "What If, TAB"
Click Here to read the March SchoolArts Article, Student-Directed Answers to Five Frequently Ask Questions
Click Here to read the January SchoolArts Magazine Article Engagement Grading
Click Here to read the November SchoolArts Magazine Article Is Disco The Cure For Artist Block?
Click Here to Read the 2019 Summer SchoolArts Magazine Article Realigning the Standards!

Click Here to Read the April SchoolArts Magazine Article Tracking Student Progress with the Burn Book!
Click Here to Read the February SchoolArts Article, Build A Dynamic Art Program with Modular Teaching!
Click here to Read the October SchoolArts Article, Artists Solve Problems
Click Here to Read the Summer SchoolArts Article, Art Traps for Reluctant Students
Archives
July 2023
Categories
Art Teacher : Ian Sands
|


 RSS Feed
