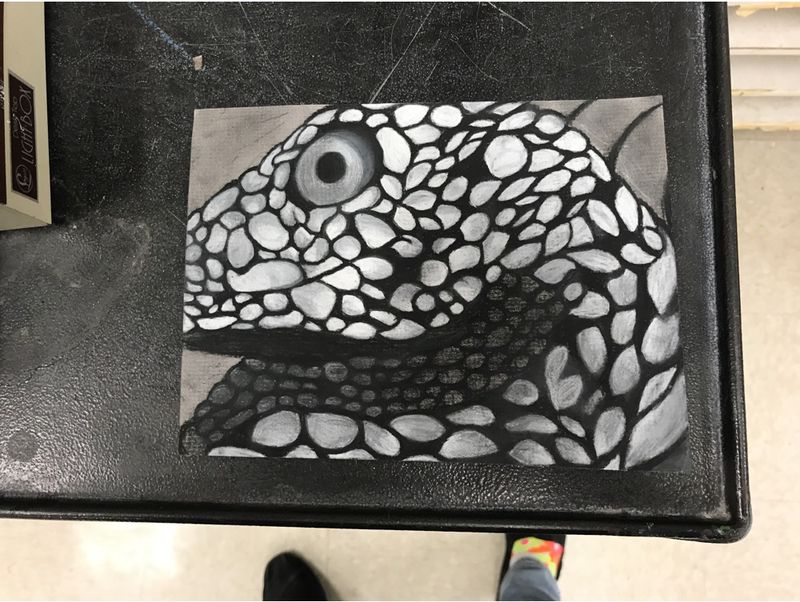
 Perhaps one of the biggest issues art teachers have a hard time wrapping their brains around is how, or if, TAB teachers teach technique. This is understandable since it isn't quite as linear as the traditional "teach a technique, produce a product that demonstrates that technique" model. In fact, teaching technique in the Open Art Room is often as divergent as the students and their projects. We have already discussed two methods for teaching techniques in part four of this series. These include demos/mini lessons, demonstrated when one of the Nine are introduced, and the mini lesson's big brother, the Bootcamp. But what happens once all of The Nine topics have been presented? How will we continue to introduce ideas, concepts, artists and technique? Enter Technique Tuesday.  What's Tech Tuesday?Every Tuesday (and again on Thursday), we will kick off class with a short presentation with the objective of introducing a new technique, technology, artist or concept. The presentations will adhere to, and rotate through, one of the four following themes: traditional techniques, digital techniques, hands on projects, and Artistic Behavior assignments. The overall objective is to continually inspire students with new approaches to media and different ways of thinking. Each presentation will end with either a hands on demo or leave them with an optional assignment. In the same fashion as the TAB five minute demo, after the presentation the student has the choice to further explore the new information or work on their own student directed project.  Examples of the Four TopicsAs previously mentioned, we will rotate through one of four topics each Tuesday and Thursday. Here are examples of the type of presentation that one could expect from each topic. Traditional Techniques: The focus here is on traditional media and techniques. Students can expect lessons about drawing, shading and value, advanced watercolor or introduction to oil painting. Digital Techniques: Here we will take a look at digital skills such a photo manipulation using Pixlr or 3D printing in Tinkercad. We will also explore other types of digital concept such as light drawing and forced perspective Hands on Projects: As the name states, these demos will include hands on projects such as teddy bear printing, creating drawbots, flipping pancake art, or tie dying shirts. Artistic Behaviors: These presentations will include big ideas such as Artists Steal, or Artists Impact Their Community. We will also introduce ideas from the Art Assignment as well as Work of Art. Students may use these advanced concepts to generate ideas for their own projects.  (((Mr. Payne sat across the desk as I signed off on my evaluation. It wasn't a bad evaluation but I personally wasn't happy with my first year teaching at South B. While some of the lessons and ideas I migrated from Apex HS worked, many did not. As I lamented over this, he gave me some great advice.)))
"It's going to take three years to get your program up and running," he said. 2018, the halfway point. Let's see where this goes... ------- This is part five of a five part series. Each part was posted to present the information in the most logical way. However, the series in not presented in the sequence used in class. To understand the sequence this series would be presented as such: Part Four: Introducing Media Part Three Subject Based Choice Part Five: Teaching Technique Part Two: Reflection Part One: Grading
1 Comment
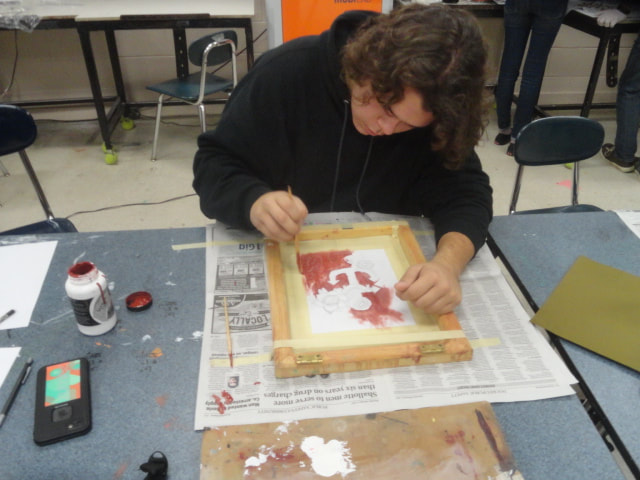
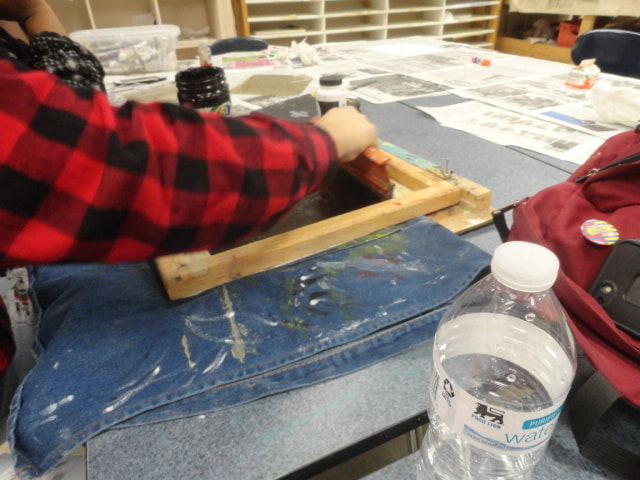
 It's true, you don't know what you don't know. This is particularly true when it comes to using media. Before you can create a watercolor painting, it helps if you know that watercolors are available. It also helps if you have some idea how to use them. As a traditional art teacher, this was never an issue. I would teach the material and then give the class an assignment based on that medium. As a choice-based teacher, I want students to decide which medium they want to use for their project, and I want this to happen as close to day one as possible. So how can I bring a whole class up to speed on at least a foundation level of what is available and how to use it? Start the year with a Media Bootcamp.  If you've read the Open Art Room, you are already familiar with Bootcamps. Bootcamps are best employed when an entire class needs to be brought up to speed on a particular media but demos or mini lessons aren't enough to cover the topic. Examples of Bootcamps include Drawing, Acrylic Painting, and Ceramics. A warning about Bootcamps:Bootcamps should be offered in moderation. The point of a Bootcamp is to bring the entire class up to speed so they can get to the art making part. It would be easy to go overboard on Bootcamps, offering so many they become the curriculum. When considering Bootcamps, determine what the minimum amount of knowledge your students need to get started, run those Bootcamps, then let them make art.  Media Bootcamp: Next semester, we will begin with a week long Media Bootcamp. Each day we will offer three different, but related mediums to rotate and explore through stations. Students will experience: Day One: Dry media such as oil and chalk pastels Day Two: Wet media including acrylic and watercolor paint Day Three: Digital media including photo manipulation and 3D printing Day Four: Hands on media such as printing, etching and ceramics. Each station will include demo and video tutorials. Students will not only experience the media, they will have an opportunity to create a product as well.  After our week long Media Bootcamp, students will be introduced to the Nine. Each of the Nine topics includes demos and techniques that relate to each topic. For example, when presenting architecture, we will review linear perspective. This is one way for the inclusion of technique while still offering full choice. But what happens once all of the Nine topics have been presented? How will we continue to introduce ideas, concepts, artists and technique? Enter Technique Tuesday.
This is part four of a five part series. Read the rest here: Part 1 Grading | Part 2 Reflection | Part 3 Subject Based Choice | Part 5 Teaching Technique  The traditional project, where the art teacher has the entire class create the exact same thing, has never worked for me. Student's skills come at different levels, they have different interests, and enjoy working with different media. It make sense to run the art room as a studio where the student is the artist and is capable of deciding the what, why and how. Many students appreciate, and take full advantage of the open art room. They formulate their own ideas and are diligent about bringing those ideas to fruition. With the room set up as so, I serve as a facilitator, making sure they have the materials they need, while providing guidance and assessment along the way. But to be fair, some students require assistance formulating ideas. They need a starting point. That's why the Nine was developed. 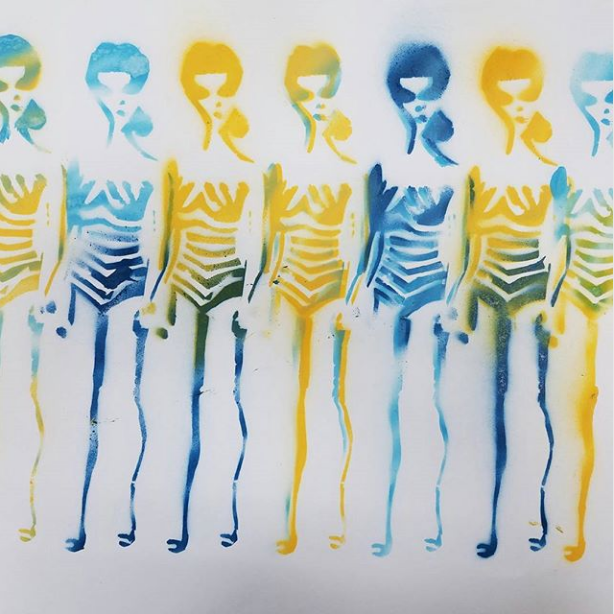 A Word about Artistic Behavior UnitsIf you're familiar with my teaching, before we get into the details of the Nine, you may be wonder why I'm not talking about Artistic Behavior units. In the book, the Open Art Room, Artistic Behavior Units are presented as an intermediate level of choice. If the Nine had been created before the book was published, I would have presented this concept as a beginning level of choice, designed for students who have little or no experience working in a student-directed classroom. Once the Nine are presented, a teacher could introduce Artistic Behavior units. I plan to discuss this later. However, one of the benefits of the Nine is that once implemented, it can catapult students from beginner to advanced, skipping the intermediate level entirely. 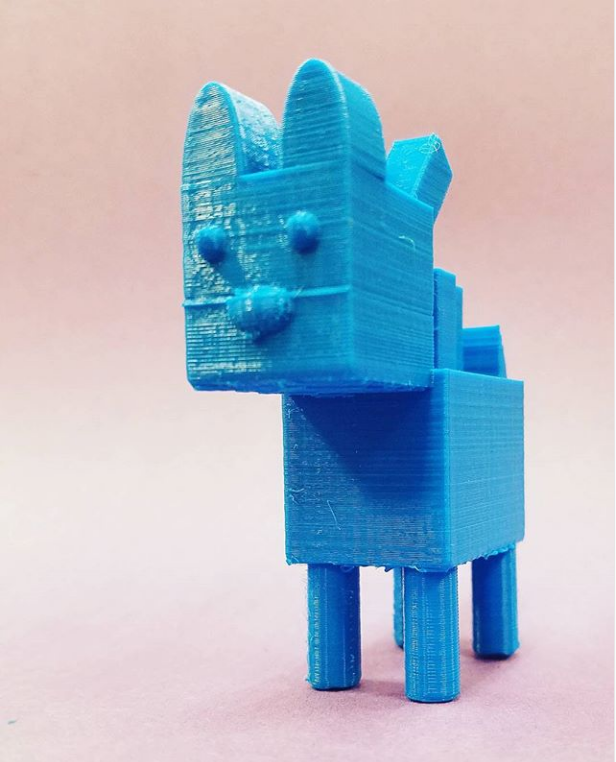 The NineThe Nine is a list of subjects that one would make art about (not style or genre or technique). The Nine include: Architecture, The Figure, Imagination, Landscape, The Portrait, Conceptual, The Object, Nature, and Non Representational. We start by only introducing three of the Nine. The first three are Architecture, The Figure and Imagination. Each topic is presented to the students as a packet that contained the objective, questions for consideration, video tutorials for further exploration and examples of artwork. The students select one packet they wish to pursue. Together we answer the questions and try a few tutorials. The students then decide which of the three subjects they wish to make art about. They then plan and create a final work. About a week or so after the first three packets are introduced, we introduce another three in the same way. The only difference at that point is that students could choose from all six. About two weeks more and the last three are introduced and the same process ensues, with an option for any of the nine using any medium they want. More on the Nine, with samples and links here. 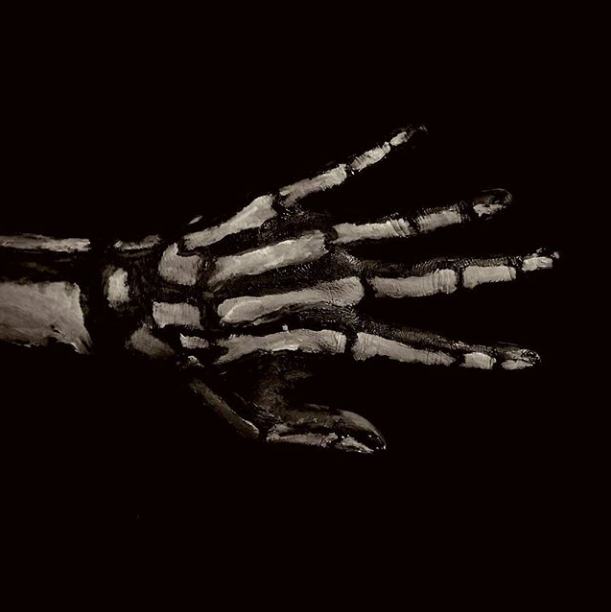 Allowing students to use any medium they want raises the next question. How do the students know about the different available media and how do they learn technique? Enter Media Bootcamp.
This is part three of a five part series. Read the rest here: Part 1 Grading | Part 2 Reflection | Part 4 Introducing Media | Part 5 Teaching Technique 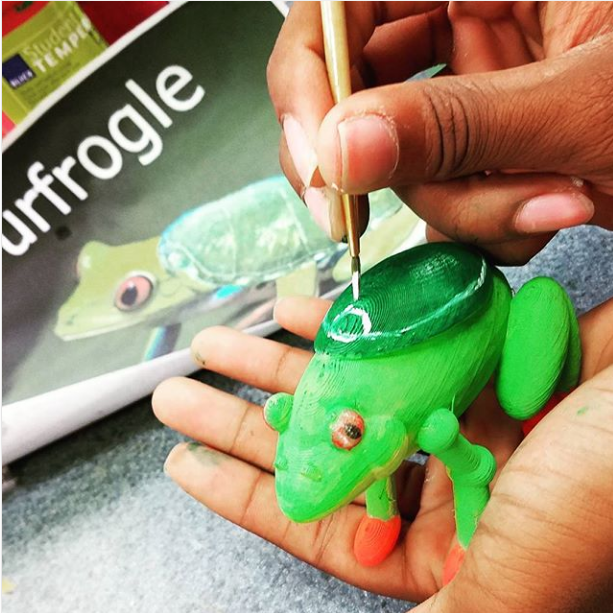 If I had to pick the second most popular topic I've conversed with other art teachers about, it has to be documentation and reflection. Back in the day, it was blogging which was something I thought I would continue at South B. However, many of the popular blogging sites are blocked by our school district. I needed something that was user friendly, that could be accomplished without trips to the computer lab, and that had an app so students could complete posts on their phones. Seesaw fit the bill.  Did you Seesaw?The two biggest Seesaw questions we considered were: 1. How often should students post? 2. What should they write about when reflecting on their work? We tried several combinations including posting every day, posting at different intervals of a project, and posting once a week. In the end, simplicity and efficiency won. In 2018, every student will post their weekly accomplishments once a week on Friday. They will do this regardless of whether they are finished, are in the middle of their project, or are just starting. Along with a photo of their work, they will add a caption and answer one of the following four questions: 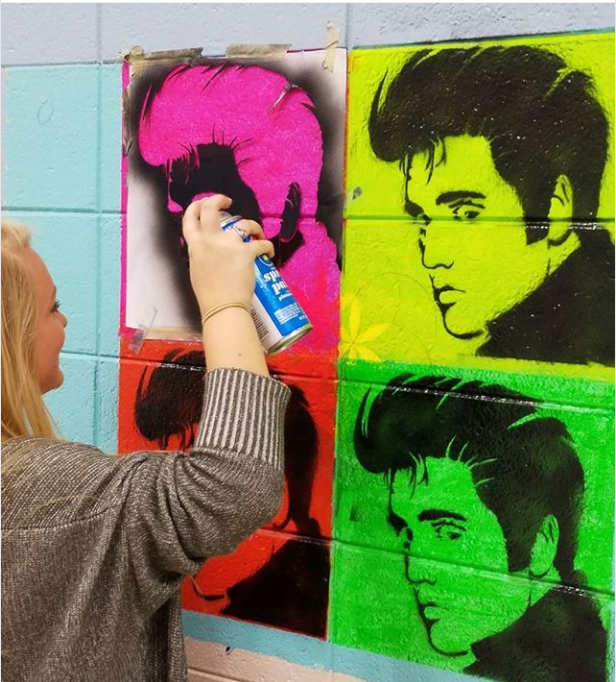 If they are still working on the piece and it isn't finished, they select one of the following topics as their photo caption prompt: 1. Describe your intended vision for this artwork. What are you trying to express or accomplish by creating this work? Or 2. Describe what you are trying to learn or improve by creating this artwork. (a new technique, medium, style, etc.)  If they completed their piece and it is finished, they select one of the following topics as their photo caption prompt:
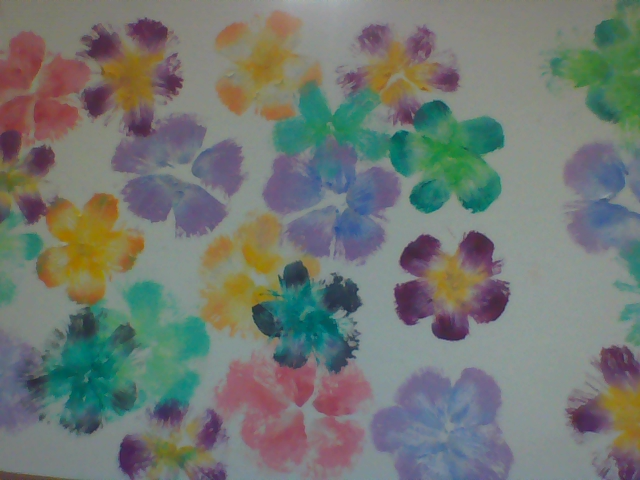
1. Describe how you grew artistically by creating this artwork. Did you advance in your skills, learn new techniques, create a better composition, or solve new problems? Or 2. What goals are you setting for next week? Will you be exploring a new medium, learning a new technique, working in a particular style, solving a new problem, taking a risk, etc? But this is the cart before the horse. What are these projects they'll be posting about? Enter The Nine. This is part two of a five part series. Read the rest here: Part 1 Grading | Part 3 Subject Based Choice | Part 4 Introducing Media | Part 5 Teaching Technique  Mr. Payne sat across the desk as I signed off on my evaluation. It wasn't a bad evaluation but I personally wasn't happy with my first year teaching at South B. While some of the lessons and ideas I migrated from Apex HS worked, many did not. As I lamented over this, he gave me some great advice. "It's going to take three years to get your program up and running," he said. "Three years? I'm not a new teacher." "It doesn't matter. Give it three years and you'll have it running smoothly." I let it sink in. Though it was still art class, everything else was different. Different building, different room, different technology, and of course, different students. I had to modify the program to fit the needs of South B.  Fast forward one year. 2017 was a year of trial and error, seeing what would work and tossing out things that didn't. Here's a look at some of the best of 2017 as we work towards the end of year two.  Are You Engaged?Grading, ugh! From Facebook posts to Twitter tweets to forums on the Art of Education, I can't even begin to count the endless conversations I've had about this topic. I tell students all the time, there are two bad reasons to make art. 1. Making art and then asking what grade it should receive. 2. Asking what grade they'll receive if they make art. For this reason, grading projects is not in my repertoire. So how does one enter a grade, that demonstrates that students are working towards their objective, when every student has a different objective? The Engagement Grade. The engagement grade (click here for more info) tracks the student's daily activities and combines this into a weekly alphanumeric entry. Though it still needs tweaking, which will happen in 2018, the overall process is a rather accurate representation of engagement. The one thing the engagement grade was missing was an artifact for documentation and student reflection. Enter Seesaw. This is part one of a five part series. Read the rest here: Part 2 Reflection | Part 3 Subject Based Choice | Part 4 Introducing Media | Part 5 Teaching Technique 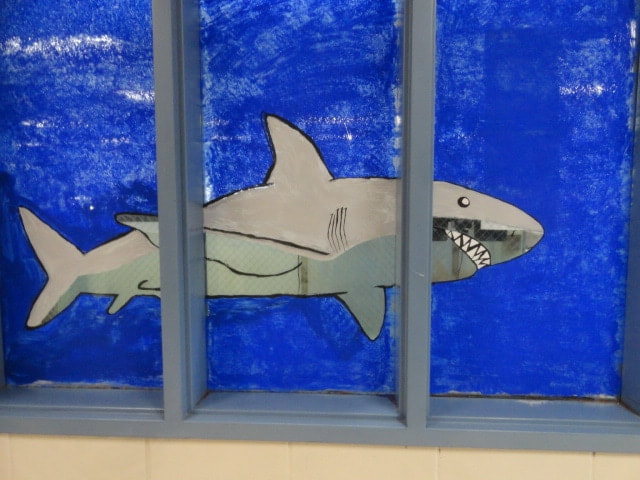  First Attempt: This week we introduced the concept of the Newimal. it's about using photo editing software to combine two animals into one new animal. We took a look at Pixlr.com, talked about some basic editing techniques and went to work. This is this student's first attempt and I think it turned out swimmingly. In related news, it looks like we will be offering Computer Art & Animation next year. A first for South B and a first in Brunswick county! 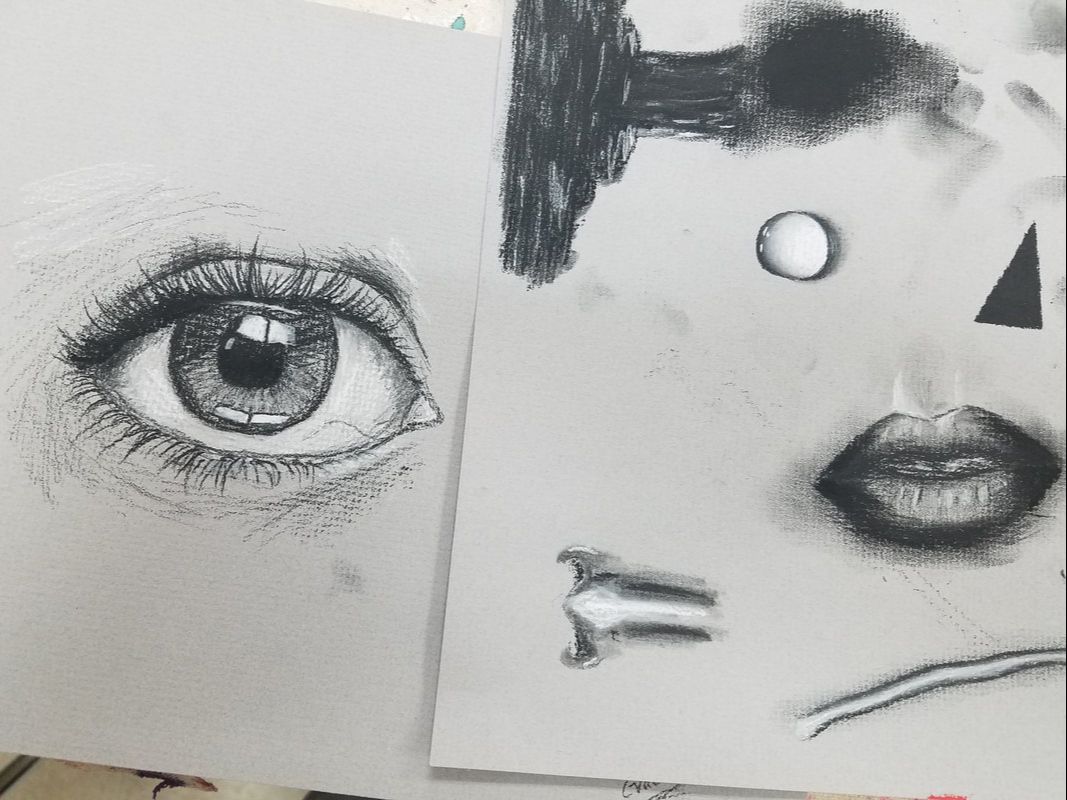 First Attempt: Had a few students ask about charcoal. I said, you should run a few tutorials and see what you think. In the end, they didn't really like working with charcoal. However, nice job on the tutorials, don't you think? 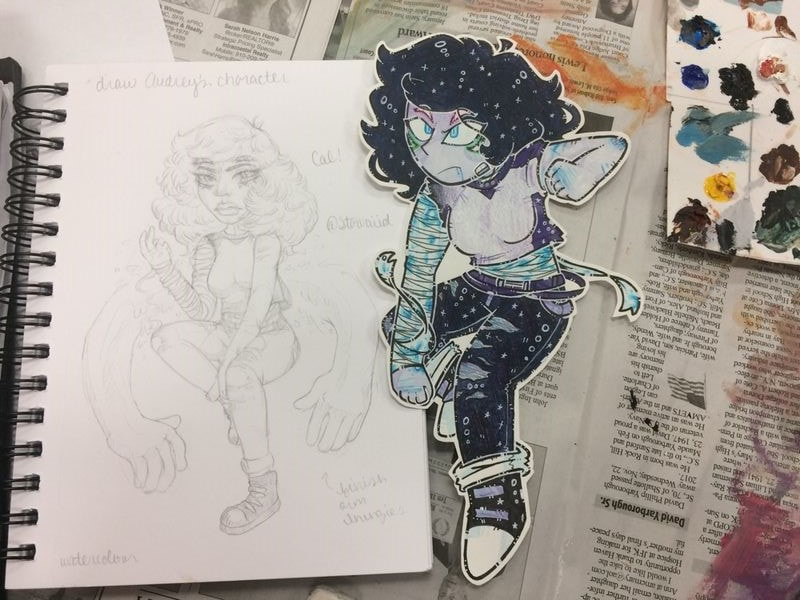 Experimentation: The color illustration to your right side is an original character created by Audrey. The pencil drawing to your left is a recreation of the original character to the right. In other words, Brooke appropriated Audrey's original character and turned it into her own original character which Audrey thought was rather cool.. cause it is rather cool, don't you think? 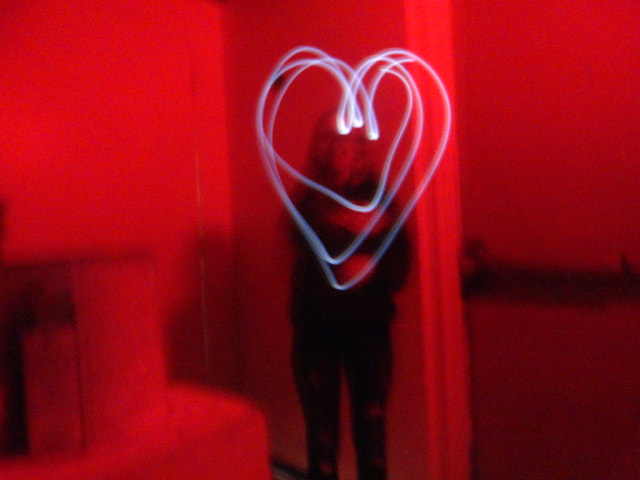 First Attempt: These two girls have been working on murals most of the semester. That's cool and all but sometimes you just need a break. they were looking for something different, something fun. I gave them the camera and sent them into the closet. Here we see their first attempt at light drawing. 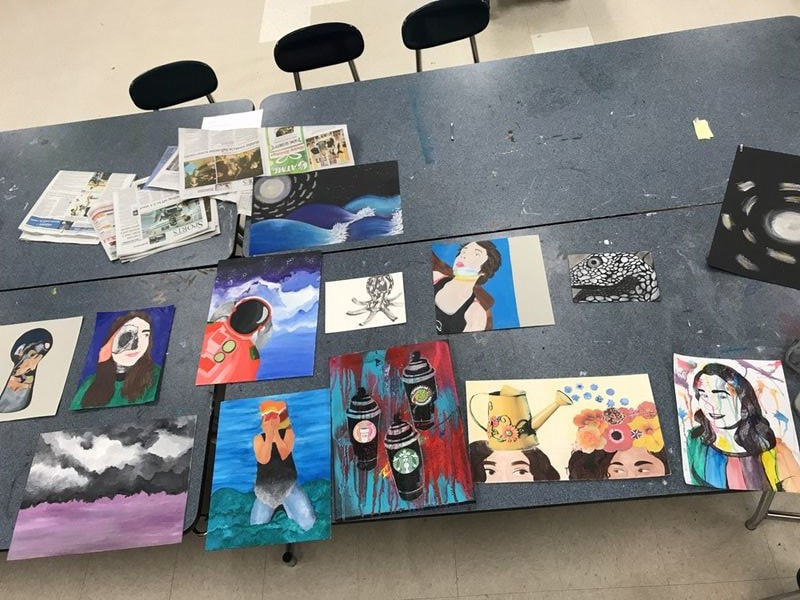 Experimentation: If you had 12 works of art and wanted to put together a portfolio, how would you lay them out? Would you put your strongest first... or your weakest? This is the thing Nyssa experimented with today. Here we see the images when they were first laid out in no particular order.  First Attempt: Inspired by Professor Clyde, we took a look at the idea behind a marble drop. This first attempt is rather straight forward but it introduced the concept. Though this prototype wasn't continued, it did lead to our next project which is based on how Micaella Pedros re-purposes discarded plastic bottles into joints that can be used to hold wooden piece together... stay tuned! 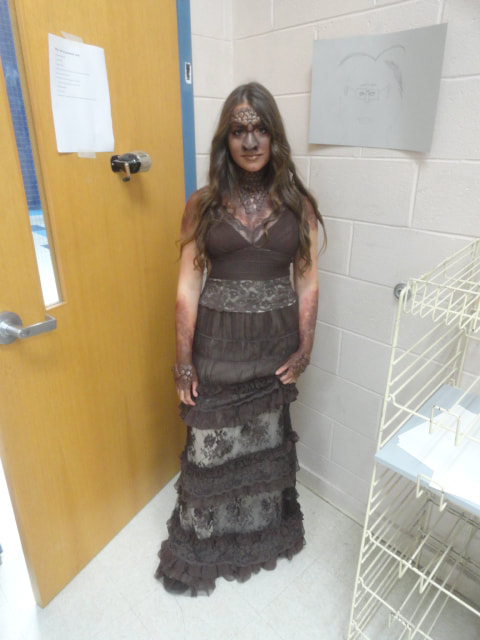 Side Note: Ohio isn't in my class but this semester but she did ask me to be her mentor for her senior project. Her project was on special effects makeup. Right up until the last few days that her project was due, i kept asking her about her project. To be honest, I was a little scared she wasn't going to have it done. Then on the day of her presentation, she comes in like this. I'm not sure this photo does the scales and body paint justice. it was very cool.
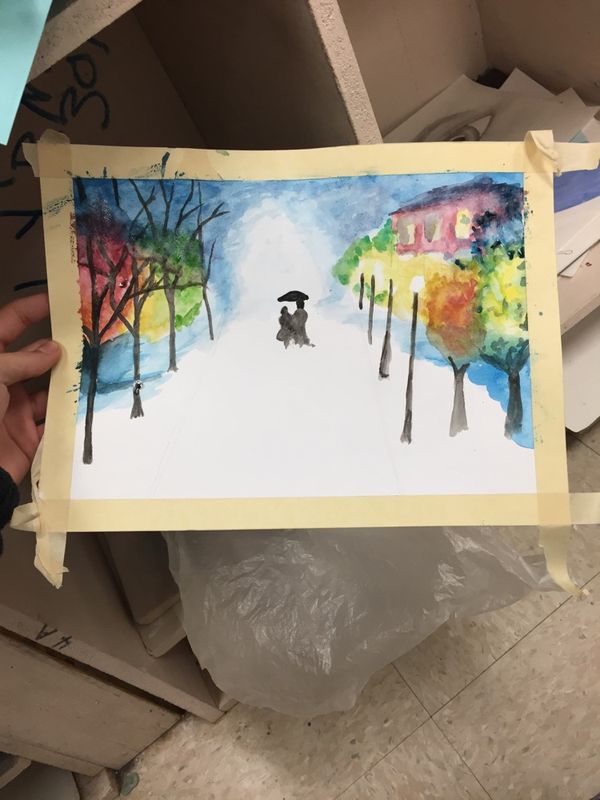
 We had several students trying their hand at photography this week. The photo above was taken inside the Oak Island lighthouse. The student then hand edited the photo to achieve the coloring and lighting effect she desired.  I like how everything is smushy looking. it adds movement, 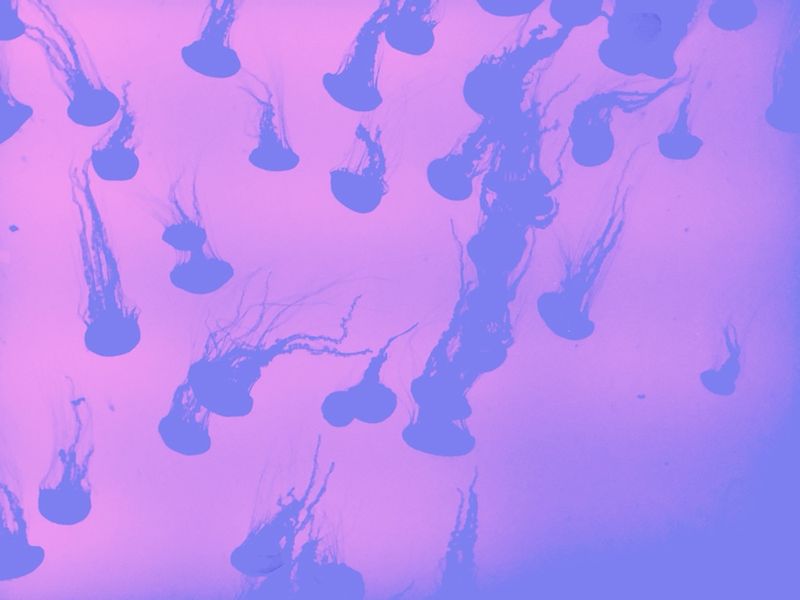 This student went swimming and ran into a school of jellyfish. She was stung several times but luckily had her underwater camera and was able to capture this photo. Just kidding. She took the photo at the aquarium. 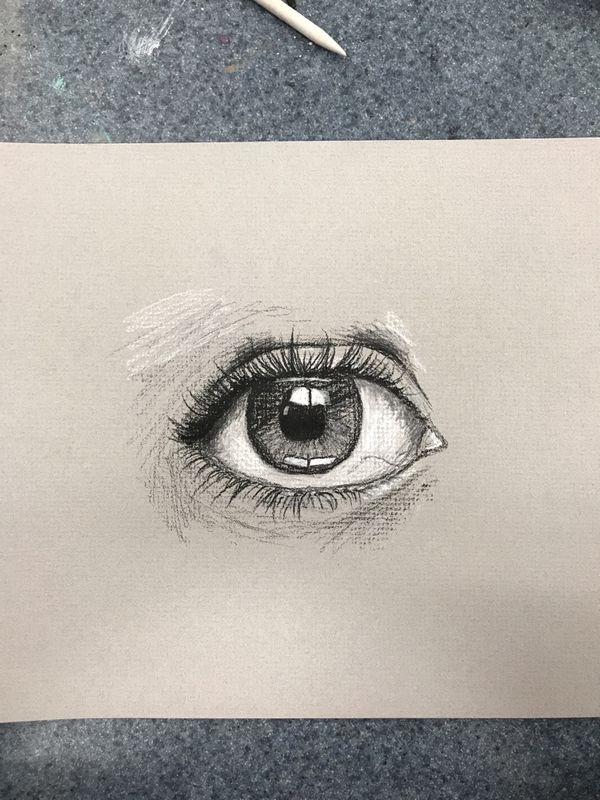 This student was interested in drawing an eye so I recommend she try her had at using gray paper with black and white charcoal. She ran a tutorial to accomplish the results. Interested to "see" (lol) where she will take it. 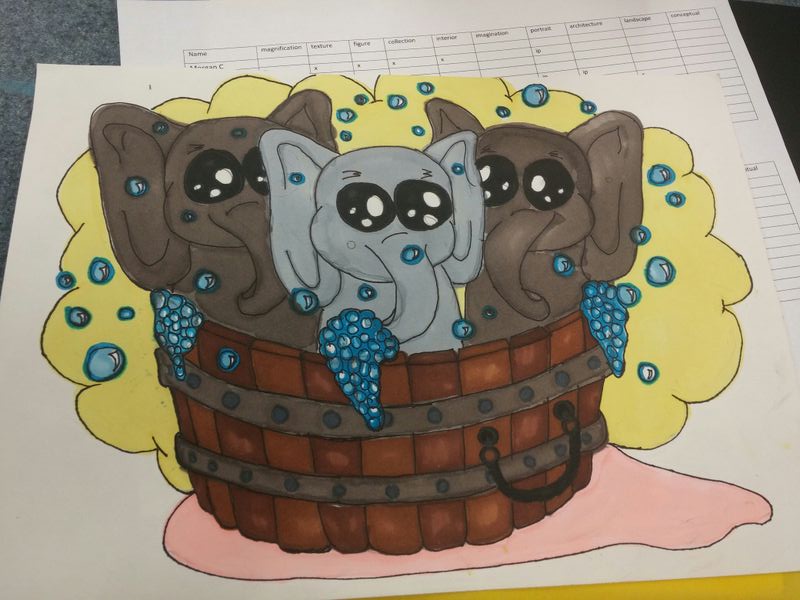 Everyone like whimsical things and what is more whimsical that three elephants taking a bath in a wooden tub? 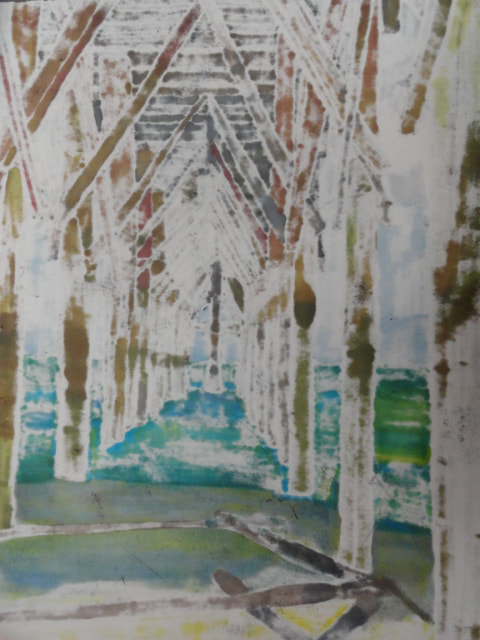 This is a drawing based on the underside of the pier. The student colored it with marker but she wasn't happy with the results at all. She flipped it over in an effort to make it go away but what was revealed on the other side was rather interesting. Several other works still in progress....
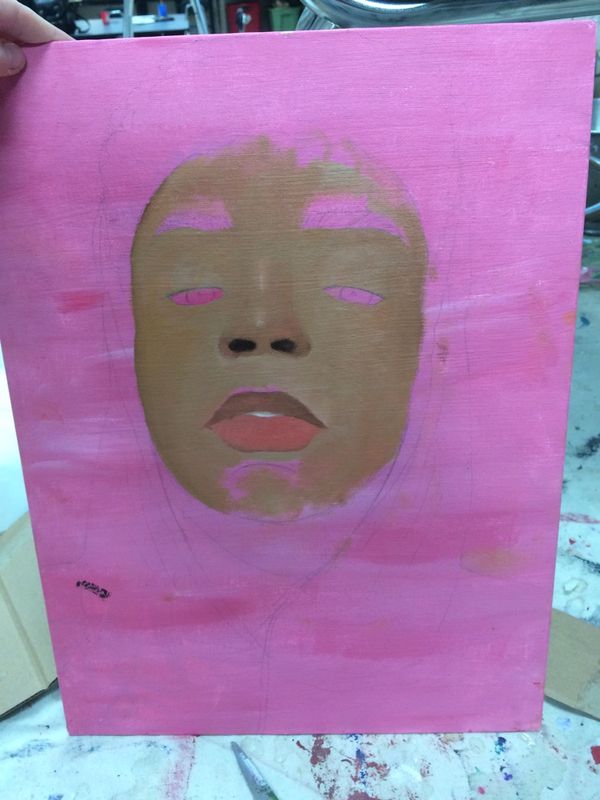
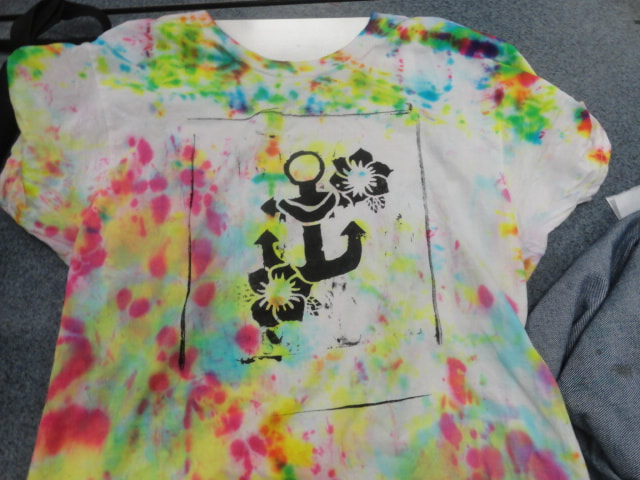
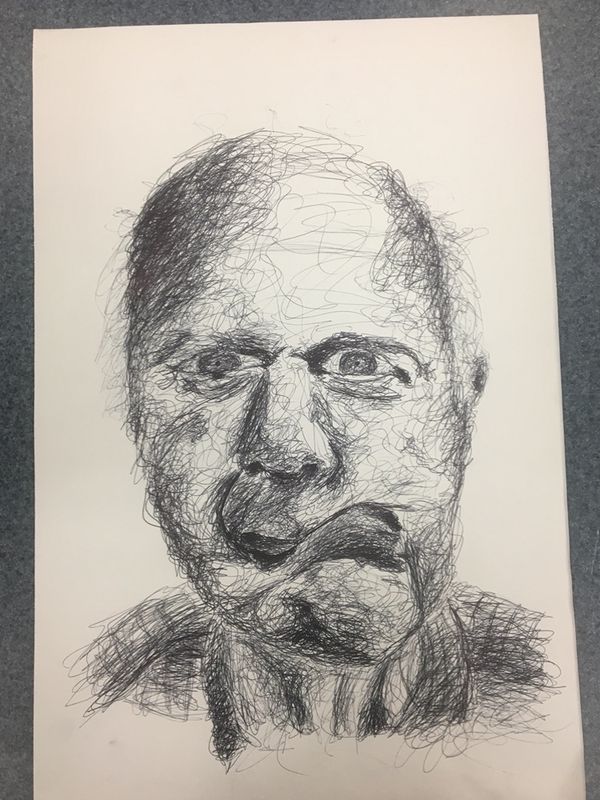
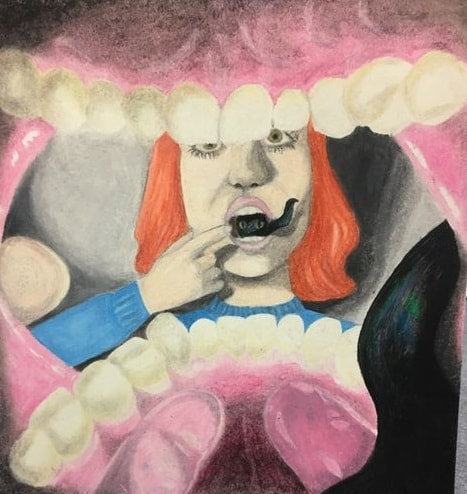 It's the monster looking at the girl and himself in the mirror, and the girl is looking at him in her mouth (from the monster's point of view).  We just received a donation of oil paints. this is Graci's first attempt at using oil paints. This is still a work in progress. Drew wanted to give silk screening a go. 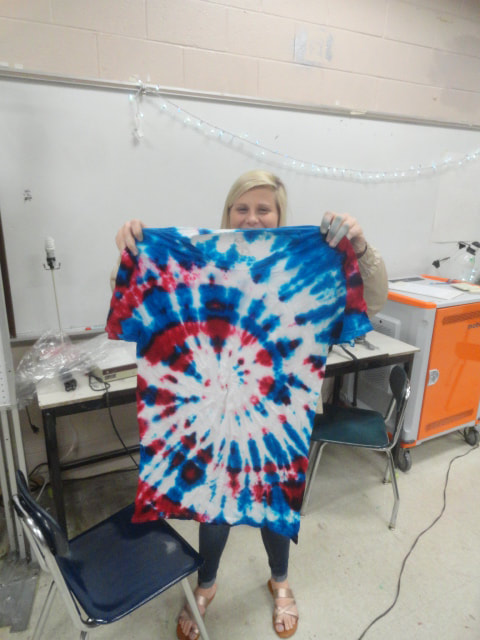 Each Tuesday we offer a demo of a new technique. student's have the option of participating if they are interested. this week's Tech Tuesday was tie dying. 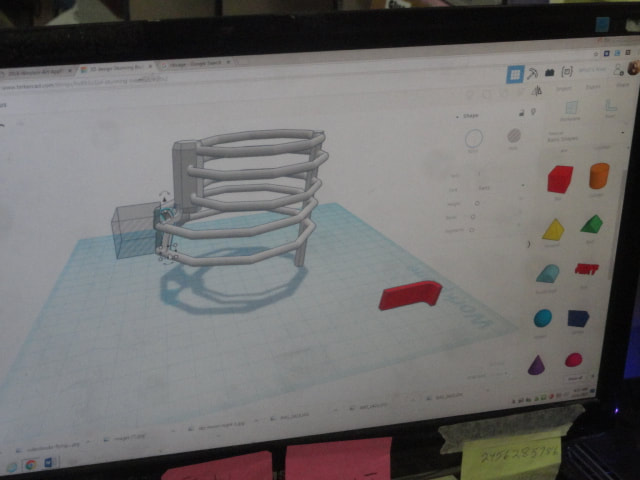 As part of his senior project, Jacob wanted to create a 3D print of a rib cage. here, he is using Tinkercad to for the pieces. next, we will 3D print the model on the Makerbot printer. Pen and Ink, charcoal, oil paint
|
Art of South BArtwork by students at Art of South BThe Visual Arts Dept. at SBHS is like no other program in the state. Learn more, watch the Intro to South B video.
The PodcastListen to the
Make Artists Podcast with your host Ian Sands the choice based, student directed, Teaching for Artist Behavior, high school art teacher and stuff and things... but mostly stuff. 
What's TAB?Teaching for Artistic Behavior (TAB) is a student-directed art education pedagogy that directs students to think and work as artists.
Books
Making Artists picks up where The Open Art Room left off, covering issues and situations choice teachers encounter as they design their program.
The Open Art Room provides a student-centered approach to art instruction that is inspirational, practical, and classroom-tested.
Articles
Click Here to read the May SchoolArts Article, "What If, TAB"
Click Here to read the March SchoolArts Article, Student-Directed Answers to Five Frequently Ask Questions
Click Here to read the January SchoolArts Magazine Article Engagement Grading
Click Here to read the November SchoolArts Magazine Article Is Disco The Cure For Artist Block?
Click Here to Read the 2019 Summer SchoolArts Magazine Article Realigning the Standards!

Click Here to Read the April SchoolArts Magazine Article Tracking Student Progress with the Burn Book!
Click Here to Read the February SchoolArts Article, Build A Dynamic Art Program with Modular Teaching!
Click here to Read the October SchoolArts Article, Artists Solve Problems
Click Here to Read the Summer SchoolArts Article, Art Traps for Reluctant Students
Archives
July 2023
Categories
Art Teacher : Ian Sands
|
 RSS Feed
